
Of all the plants in the garden, none have made such an impact on our culinary lifestyle as garlic. Not only is it an important ingredient in a vast array of cooking traditions from Italian to Mediterranean, Asian, and Middle Eastern, it has even made its way into folklore and myths as a way to ward off evil spirits and vampires. And while almost every person on planet Earth couldn’t do without it, my mother complains every time it is used – without fail. My conclusion? Mother is a vampire. Explains her love of ballroom dance.
Keeping My Mother Out of Your Garden

Whether you’re plagued by vampires or not, you can never have enough garlic in the garden, in my opinion. Learning how to grow garlic from a clove begins with timing – the clove(s) needs to be planted in mid-to-late fall. Where I live, that means that I can use my garden beds all summer for their entire season and plant garlic going into the off-season. Early spring brings bright green shoots bursting through the soil. By the end of March, the garlic in the garden is offering beautiful and welcome green to the scene. In June, the garlic is ready, and my garden bed becomes available for the next crop of carrots or beets to grow in their place while the garlic dries. Okay, Okay, we’re getting ahead of ourselves. Let’s start at the beginning:
Choose Your Weapon
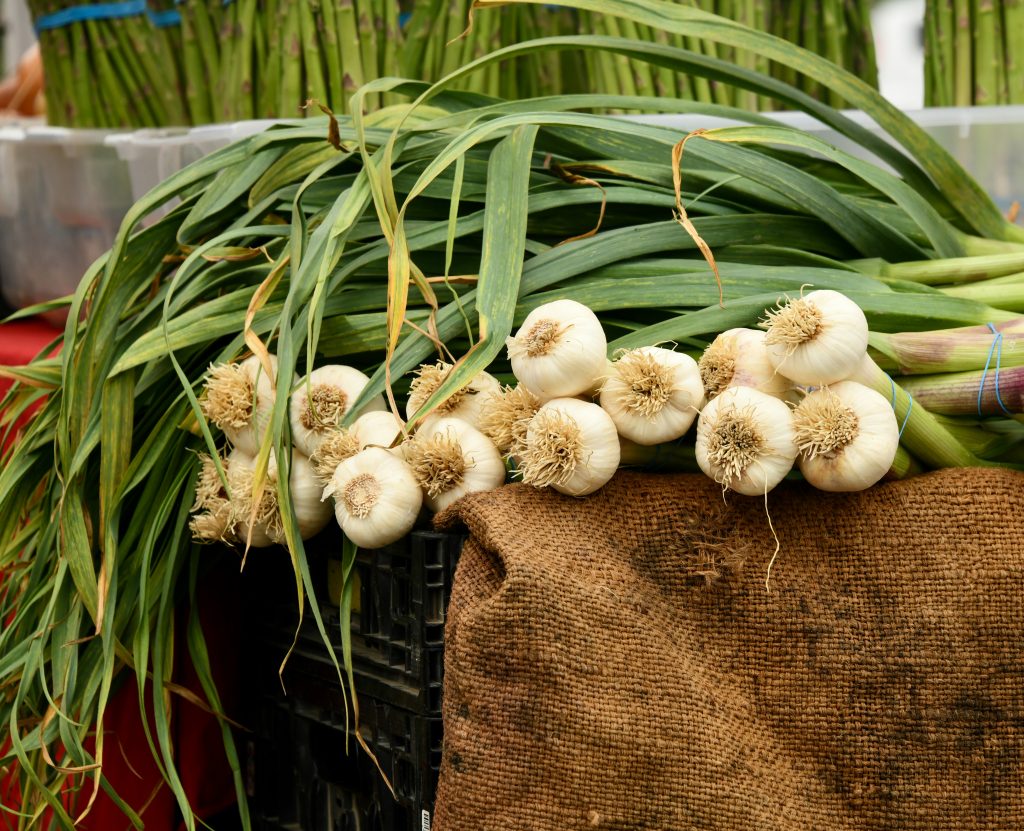
If you’ve never paid much attention, you might think there’s only one kind of vampire repellant on the market. But with a little interest, you’ll find that there are garlic heads in all kinds of shapes, sizes and varieties! Whether you’re looking for a compact variety for spicy impact or elephant garlic for its mild garlicky boost, just grow what you like to eat!
Hard or Soft Neck?
Garlic comes in two distinct variations – hardneck and softneck. Hardneck generally have a punchier taste, woodier paper and will produce a scape. A garlic scape is a delicacy that grows upward from the garlic stalk before the garlic is ready. It is generally cut once it has grown one full turn and is pointing upward again. Enjoy these scapes chopped, pickled or sauteed for a mild boost. Softneck varieties don’t produce a scape, but they can be braided into the long, beautiful braids you see hanging from the rafters in Italy. Most garlic at the grocery store are softneck varieties because they have a longer shelf life.
While I like to recommend visiting a local farm or nursery to buy the healthiest heads of garlic, in a pinch you can even grow garlic from the supermarket. Either way, look for healthy-looking bulbs with unbroken skin.
Before you can grow garlic from a clove, it needs to be broken away from its neighbouring cloves in the rest of the head. Break down your chosen heads of garlic into cloves by gently pulling them apart but don’t remove their protective paper. If your efforts are successful, each of these cloves will become a whole head of garlic.
Prep Your Medium

When growing garlic from a clove, the plant will do best in rich soil. Make sure the soil drains well and doesn’t pool water on the surface. Be sure to mix in some compost or well-rotted manure-based fertilizer before planting to condition the soil, and/or ask your garden center for a garlic-specific fertilizer. If you like it technical, garlic likes a pH of 6-7.5.
Put Your Plan into Action
Growing garlic from a clove requires placement of 6 inches of distance from the next clove and one foot from the next row. This will ensure that your garlic has room to grow naturally without interference.
An index finger plunged into the soil provides a channel to slide the clove 2 inches under it. Insert the clove with the pointed end facing upward. This pointed end is what will eventually produce the germ and eventually the stock of the head of garlic.
Before You Retreat
The finishing touches on your garlic include water and mulch. First, water in the garlic until you’re sure the soil is damp around the clove. Now, cover your garlic bed in a healthy 1-2 inch layer of mulch. This can include chopped-up branches, dried leaves, commercial mulch or storebought straw. This layer will suppress weeds, insulate the garlic during the cold of the winter, and will ensure that soil erosion due to wind and water is kept to a minimum. Keep your garlic moist throughout the growing season, but do not over-water.
Early Spring
In early spring, offer your garlic bed another blast of nutrients with some of your remaining fertilizer from planting. This will give your garlic a bump in nutrients through the growing season which will support it up until harvest.
Harvesting Your Garlic
When growing garlic from a clove, they will eventually start to look a little ‘sorry’ – that when you’ll know it’s almost time to harvest! Garlic will begin to yellow and dry as its bulb reaches full size, letting you know it’s time to dig it up. Begin by gently lifting a central head out of the soil with a garden fork and checking for size to determine whether or not to go forward with the harvest or wait another few days for some additional growth.
Lay your harvested garlic out to dry in a dry, warm environment for 2-3 weeks before cutting stalks for storage or braiding. Congratulations!! You have successfully grown garlic from a clove! Want to braid your vampire repellant into a fashionable neck piece? See how here.