When I started gardening, it all seemed fairly simple. Bury the seed, grow the seed, store the winnings. But it quickly became evident that the winnings I was accruing were being produced in numbers that my freezer just could not accommodate. Green beans, peas, carrots, and dozens of other crops were ready in the garden. Without another freezer and without a cold storage area, I was really going to miss out on sustained enjoyment. And that was the point of all this effort in the first place – food security! All at once I realized that I would need to have a future in canning if I wanted to make this work. But canning jars, lids, and ‘debubbling’ were all so foreign to me. Finally, I went on Marketplace and bought what seemed like a garage full of canning supplies from an older lady who was scaling back, and began the process of making mistakes, learning, and doing it all again. Here are three things I wish I knew when I started learning about canning meat and produce.

1: Used Lids Are Too Risky
When I bought boxes full of canning jars, lids and rings, I thought I was all set! The result was losing several jars to a poor seal. What I learned is that while it is perfectly fine to reuse rings and canning jars, lids (the flat top to your jar), and rings should be new. The reason is that the ring relies on achieving a seal between the glass and the rubber that lines the underside of the ring. After being used, or after being stored for too long, the rubber on the lid can dry out and become too rigid to hold a perfect seal. This results in much cussing from yours truly – after hours of canning work this is disappointment that I cannot bear and you shouldn’t either. If you’re new, buy new lids unless you have a seasoned canner in your life who can check them and advise. If your lid doesn’t seal, it will pop up and down when you press on it and, eventually, you will see signs of mold or other signs of spoilage on the food itself. If you don’t have a good seal on a jar – put it in the fridge to be used right away. Do not put this jar into storage, because the spoilage is a risk to anyone who eats it. And no one wants to die of a pickled beet.
2: You Can’t Water-Bath Everything
When I was young, I’d watch my grandmother water bath apple juice after picking the absolute abundance of apples in her modest yard. The process looked fairly simple, though there were lots of opportunities to burn myself so my involvement was limited to peeling apples. If I had been older, I’d have asked more questions and found out that, while you can water bath many things, you can’t water bath just as many – and it all comes down to the acidity of the item you’re canning and how much it needs to be cooked.

What is water-bath canning?
Water bath canning means that the sterile jars are packed with produce and then immersed in boiling water to process. This process is preferable (in my opinion) to pressure canning because you don’t need to mess with a pressure canner, weights, etc. Fruits and vegetables often have enough acidic properties (4.6 or below) to effectively kill bacteria in a water bath. Some things, like tomatoes, may need some added acid in the form of lemon juice, vinegar or citric acid before being water-bathed.
3: You’ll Need Some Hardware (canning jars, lids, seals…)
Anyone who tells you it’s cheap to get started with gardening and canning hasn’t purchased a pressure cooker, large stock pot, or the propane to run the show. While these are one-time expenses, it’s important to be aware of what you’ll need to ensure that you’ll have everything ready when you are. Remember, you’re saving a ton of money at the grocery store by canning your own meat and produce and you’ll be able to use it again and again. At minimum you’ll need:
- A canning funnel
- A stainless ladle (choose one that will be well-proportioned to the funnel you’re using)
- A magnetic jar lifter (get one that’s rubberized to reduce slips)
- A large stock pot or pressure cooker
- A guide to canning times etc. (Ball makes a good one) or see this video of best canning and preserving books!

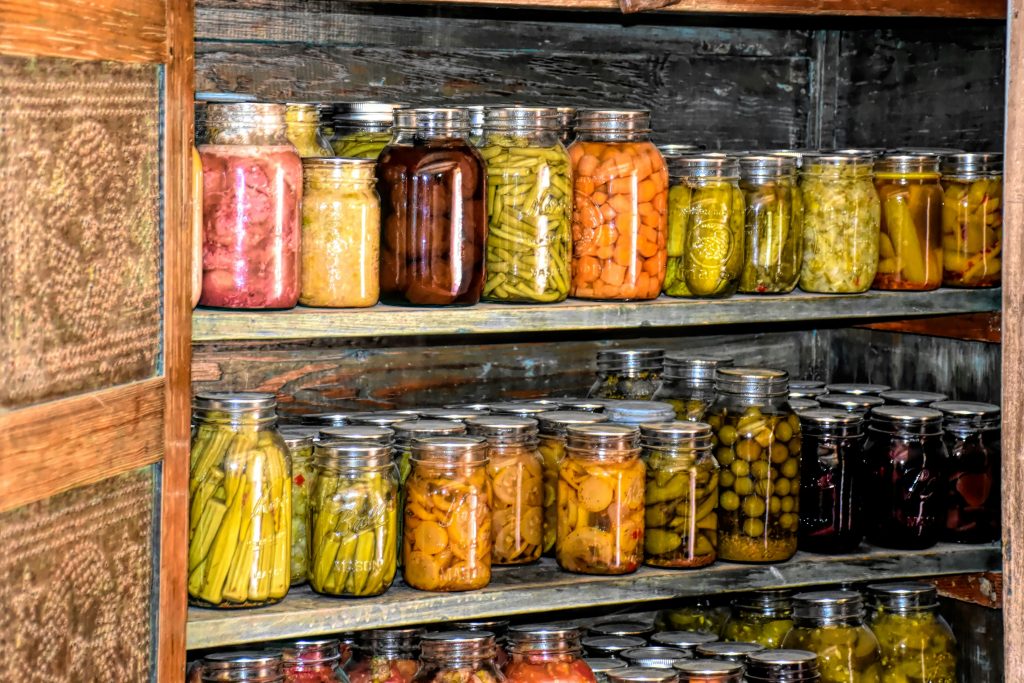
Embarking on a journey to master the use of canning jars, lids, and rings, can seem intimidating but it is a simpler process that you’ve likely conjured in your head. The real challenge is the time it takes to complete! Regardless, I’ve come to love canning and look forward to seeing all my jars neatly lined up in the pantry. It’s pretty, it’s easy to identify, and it is ready when you are – no thawing required!

