Canning Jars, Lids, and Pressure Cookers – 3 Things You Should Know

When I started gardening, it all seemed fairly simple. Bury the seed, grow the seed, store the winnings. But it quickly became evident that the winnings I was accruing were being produced in numbers that my freezer just could not accommodate. Green beans, peas, carrots, and dozens of other crops were ready in the garden. Without another freezer and without a cold storage area, I was really going to miss out on sustained enjoyment. And that was the point of all this effort in the first place – food security! All at once I realized that I would need to have a future in canning if I wanted to make this work. But canning jars, lids, and ‘debubbling’ were all so foreign to me. Finally, I went on Marketplace and bought what seemed like a garage full of canning supplies from an older lady who was scaling back, and began the process of making mistakes, learning, and doing it all again. Here are three things I wish I knew when I started learning about canning meat and produce.
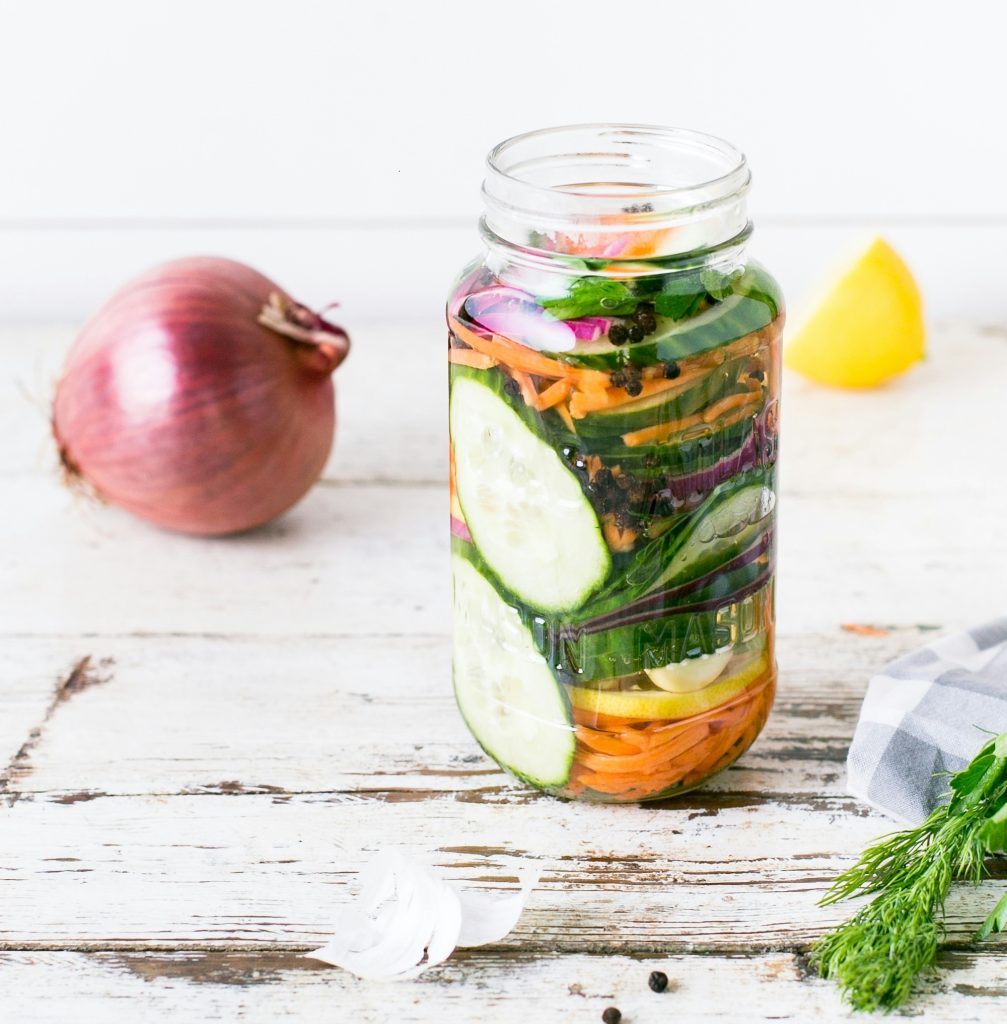
pickled vegetables in a traditional mason jar

1: Used Lids Are Too Risky

When I bought boxes full of canning jars, lids and rings, I thought I was all set! The result was losing several jars to a poor seal. What I learned is that while it is perfectly fine to reuse rings and canning jars, lids (the flat top to your jar), and rings should be new. The reason is that the ring relies on achieving a seal between the glass and the rubber that lines the underside of the ring. After being used, or after being stored for too long, the rubber on the lid can dry out and become too rigid to hold a perfect seal. This results in much cussing from yours truly – after hours of canning work this is disappointment that I cannot bear and you shouldn’t either. If you’re new, buy new lids unless you have a seasoned canner in your life who can check them and advise. If your lid doesn’t seal, it will pop up and down when you press on it and, eventually, you will see signs of mold or other signs of spoilage on the food itself. If you don’t have a good seal on a jar – put it in the fridge to be used right away. Do not put this jar into storage, because the spoilage is a risk to anyone who eats it. And no one wants to die of a pickled beet.

2: You Can’t Water-Bath Everything

When I was young, I’d watch my grandmother water bath apple juice after picking the absolute abundance of apples in her modest yard. The process looked fairly simple, though there were lots of opportunities to burn myself so my involvement was limited to peeling apples. If I had been older, I’d have asked more questions and found out that, while you can water bath many things, you can’t water bath just as many – and it all comes down to the acidity of the item you’re canning and how much it needs to be cooked.
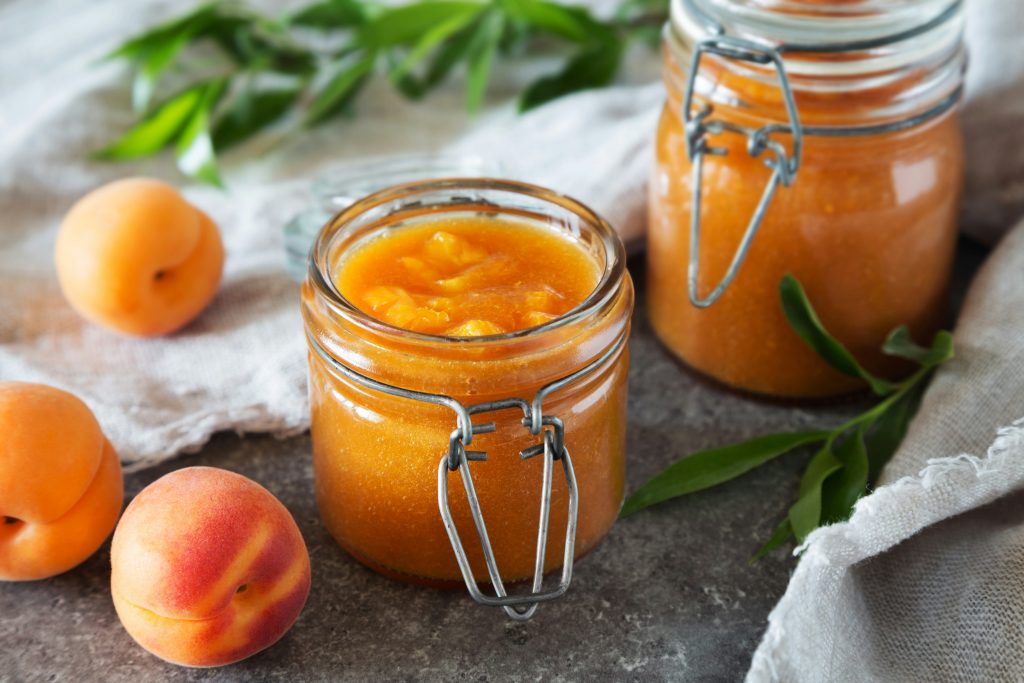
two jars of apricot preserves

What is water-bath canning?

Water bath canning means that the sterile jars are packed with produce and then immersed in boiling water to process. This process is preferable (in my opinion) to pressure canning because you don’t need to mess with a pressure canner, weights, etc. Fruits and vegetables often have enough acidic properties (4.6 or below) to effectively kill bacteria in a water bath. Some things, like tomatoes, may need some added acid in the form of lemon juice, vinegar or citric acid before being water-bathed.

3: You’ll Need Some Hardware (canning jars, lids, seals…)

Anyone who tells you it’s cheap to get started with gardening and canning hasn’t purchased a pressure cooker, large stock pot, or the propane to run the show. While these are one-time expenses, it’s important to be aware of what you’ll need to ensure that you’ll have everything ready when you are. Remember, you’re saving a ton of money at the grocery store by canning your own meat and produce and you’ll be able to use it again and again. At minimum you’ll need:

  • A canning funnel
  • A stainless ladle (choose one that will be well-proportioned to the funnel you’re using)
  • A magnetic jar lifter (get one that’s rubberized to reduce slips)
  • A large stock pot or pressure cooker
  • A guide to canning times etc. (Ball makes a good one) or see this video of best canning and preserving books!
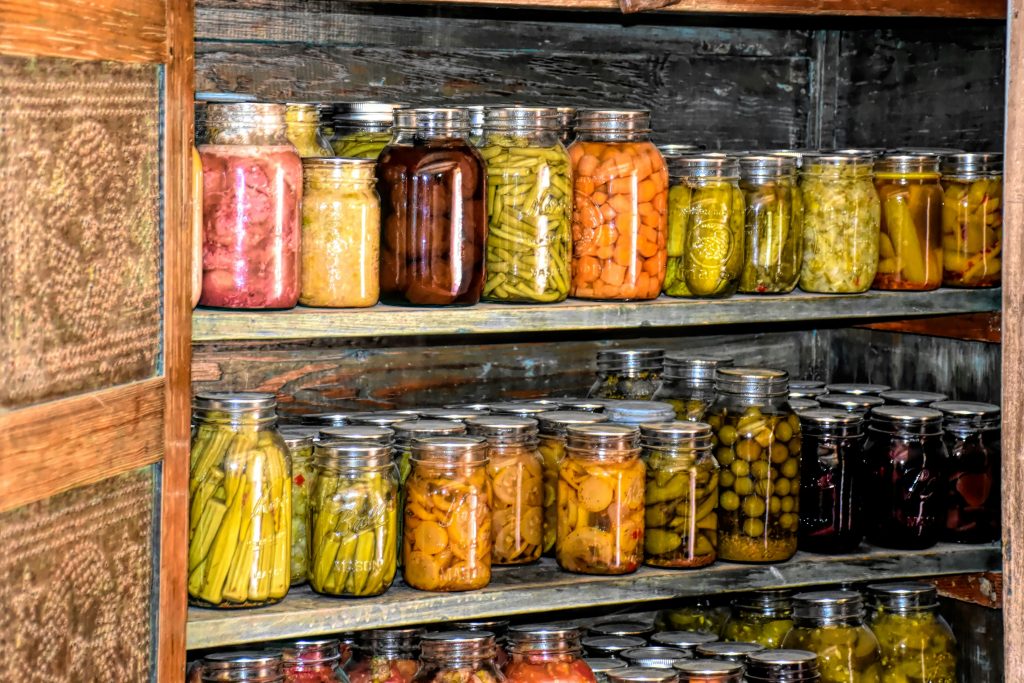
a pantry full of jarred produce

Embarking on a journey to master the use of canning jars, lids, and rings, can seem intimidating but it is a simpler process that you’ve likely conjured in your head. The real challenge is the time it takes to complete! Regardless, I’ve come to love canning and look forward to seeing all my jars neatly lined up in the pantry. It’s pretty, it’s easy to identify, and it is ready when you are – no thawing required!

Unexpected Advantages of Canning Jars, Lids and Pressure Cookers

Embarking on a journey to master the use of canning jars, lids, and rings, can seem intimidating but it is a simpler process that you’ve likely conjured in your head. The real challenge is the time it takes to complete! Regardless, I’ve come to love canning and look forward to seeing all my jars neatly lined up in the pantry. It’s pretty, it’s easy to identify, and it is ready when you are – no thawing required!

Expanding your canning skills can lead to unanticipated successes in the kitchen! Experimenting with different spices, herbs, and flavor combinations can turn ordinary produce into extraordinary treats.

Canning allows for the preservation of seasonal abundance, ensuring that the flavors of summer can be savored during the colder months.

Finally, mastering the art of canning opens up opportunities for sharing homemade gifts with friends and family. Handing someone a jar of homemade salsa or pickles, knowing that it was crafted with care and expertise, adds a personal touch to gift-giving occasions. It’s a way to share not only food but also the joy and satisfaction that comes from creating something with one’s own hands.

In conclusion, while the journey into the world of canning may seem daunting at first, the rewards far outweigh the initial challenges. With patience, practice, and a willingness to learn, anyone can become proficient in the art of preserving food. So, roll up your sleeves, gather your supplies, and embark on a culinary adventure that will enrich your meals and bring joy to those around you.

Churned Butter at Home

churned butter

When I was young, my grandfather tried to gut a jackfish in front of my sister and me. The reaction he got from us was biblical – crying, screaming, the whole thing. Before long he gave up, placed Jack back in the pail of water he’d come up in, and let us watch as he swam away unharmed. My squeamishness that day is regularly brought up at family gatherings where everyone reinforces what a wimp I am. (It’s been 35 years, I think the horse is dead…) It has taken me until my 40th birthday to realize that I’m really not squeamish in most situations. What happened that day was a reflection of my lack of exposure to things in life that would bolster my resilience when faced with something new.

Years Later

At my house, my mother was so allergic to almost all animals that my exposure to them was essentially nil. No shit – I had to strip down in our attached garage and immediately launder everything I wore if I had stepped foot in a friend’s home. And it wasn’t just my mom that stood between me and animals, either. Once, we got an opportunity to ride some horses at a family member’s acreage, but the fun was immediately cut short because my sister’s face and eyes were swelling.

At that age, who could fault me for not being able to pet a dog comfortably – let alone gut a fish? Gradually, I began to see my lack of understanding of animals extended to the flora around me, too. I had moved to a beautiful coastal town in 2020 and the exposure to all the lush green rainforests around me called at me to do, learn, and experience more. So, I did what any sane person would do and went directly into my fears to face them head-on. I started a huge garden, learned to filet fresh salmon out of the river (H is best at this), and got a dog. I washed chicken eggs, sewed boat covers, homeschooled, and found friends who wanted to live the same way.

Now that my children are old enough to understand, I want to imbue them with as much knowledge about the nature of our earth as I can. I don’t want them to be young adults who can’t identify all the vegetables at the grocery store – you know, the ones who are 40 and still putting ranch on every damn thing?

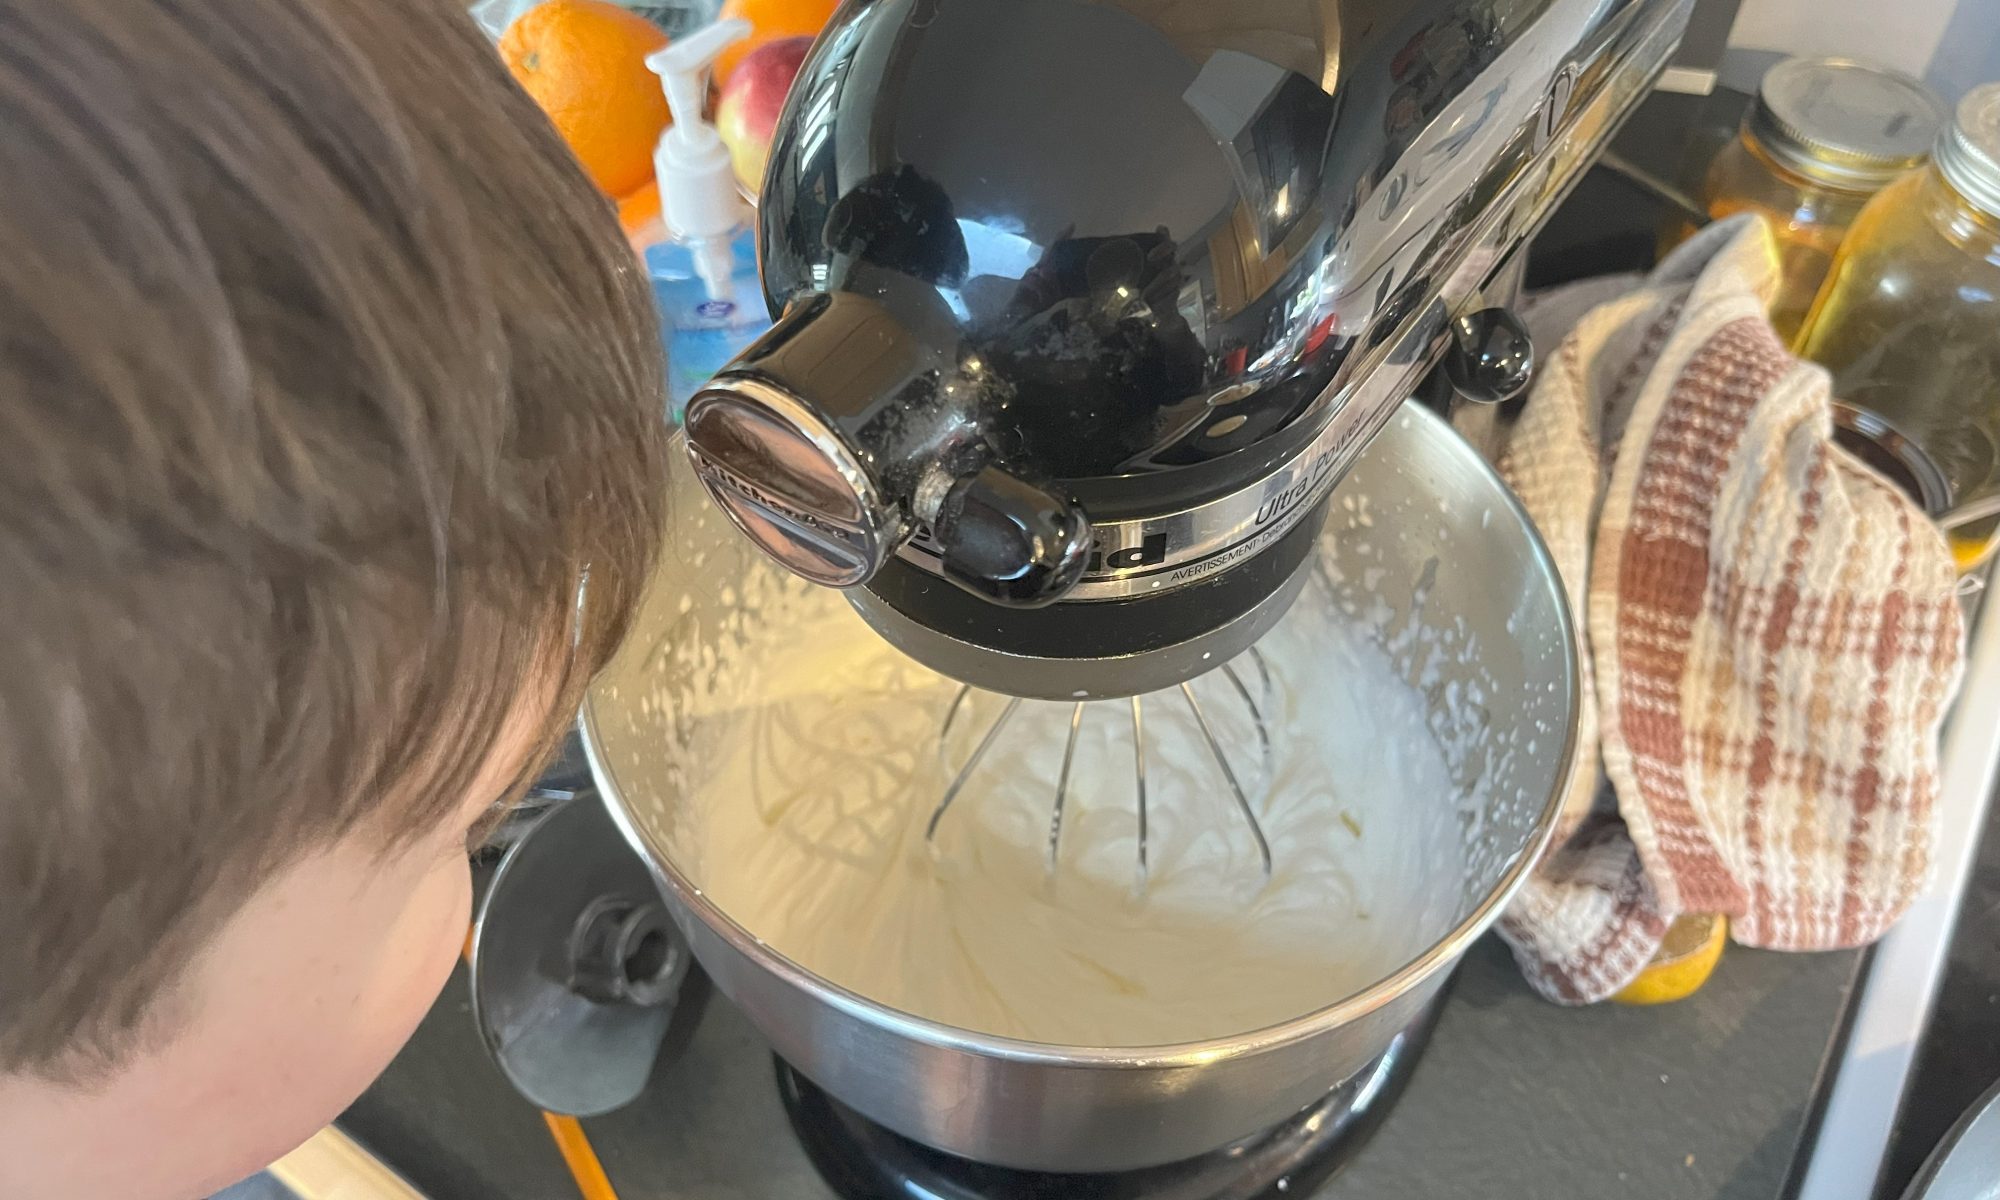
A child watching the butter churning process.

I want my kids to understand where food comes from and how it goes back to the earth in a cycle that supports all life. I want them to understand more of the world in general. So, where should I begin? I searched my memory basket and remember making churned butter in a Mason jar as a small child (and wondering if it would ever end). It’s easy, inexpensive, and provides lots of opportunities to discuss how this important resource was made in the past. This would be perfect.

Churned Butter

  • Start by purchasing 2 cups of whipping cream. Any attempt to use a low-fat alternative here will fail!
  • Let your whipping cream come to room temperature before pouring it into your mason jar or stand mixer. (I took pity on my little guy and we used the stand mixer).
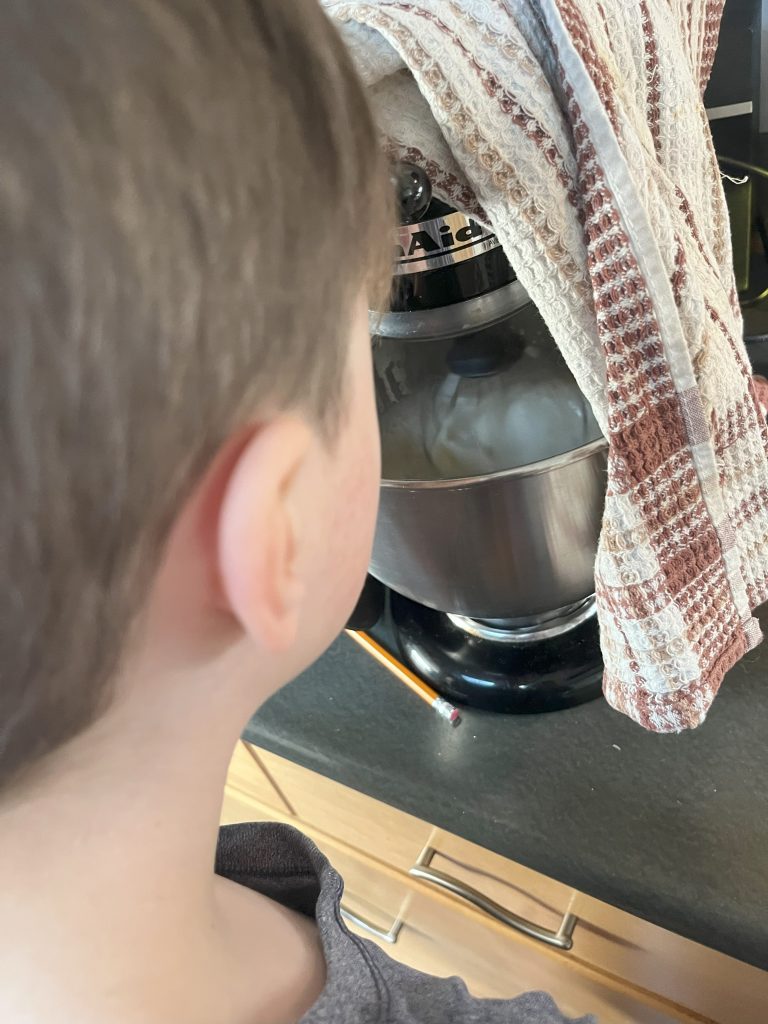
  • Start your stand mixer on low and gradually increase the speed until just before the cream splatters and makes a mess. Place a tea towel over the mixing machine to catch any splatter that does occur.
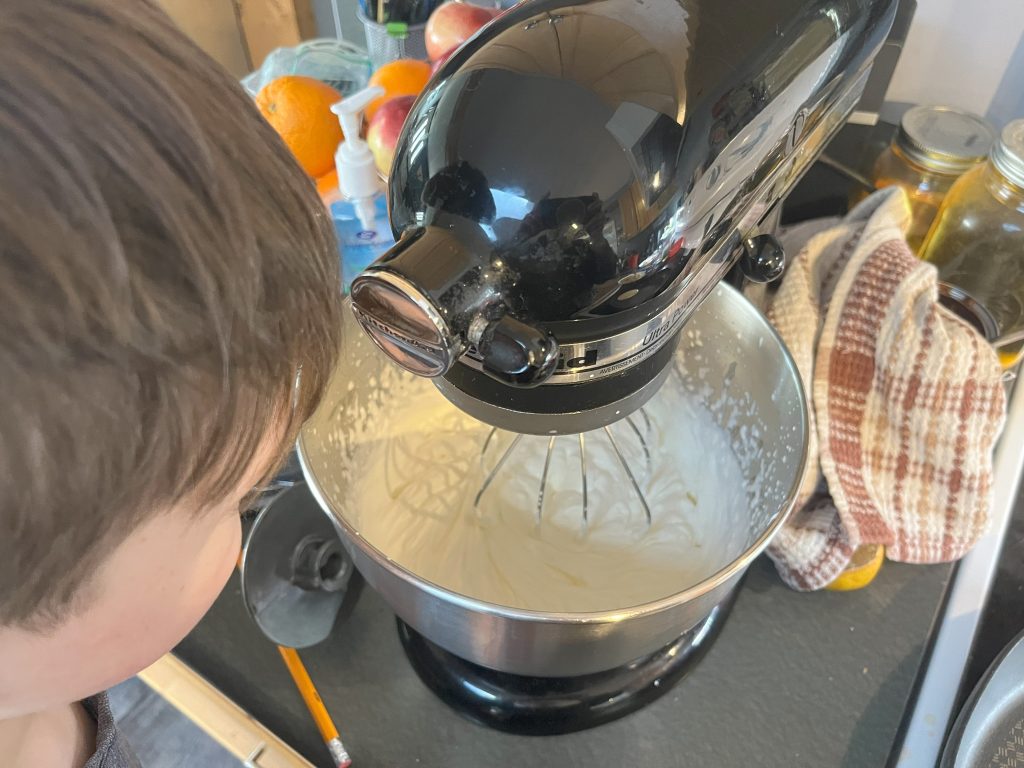
  • Continue to run your mixer this way until it forms a thick whipped cream.
  • After taking a mandatory sampling or two of your whipped cream, turn the mixer up again and keep churning the butter until it splits into what looks like butter and cloudy water (this “water” is buttermilk).
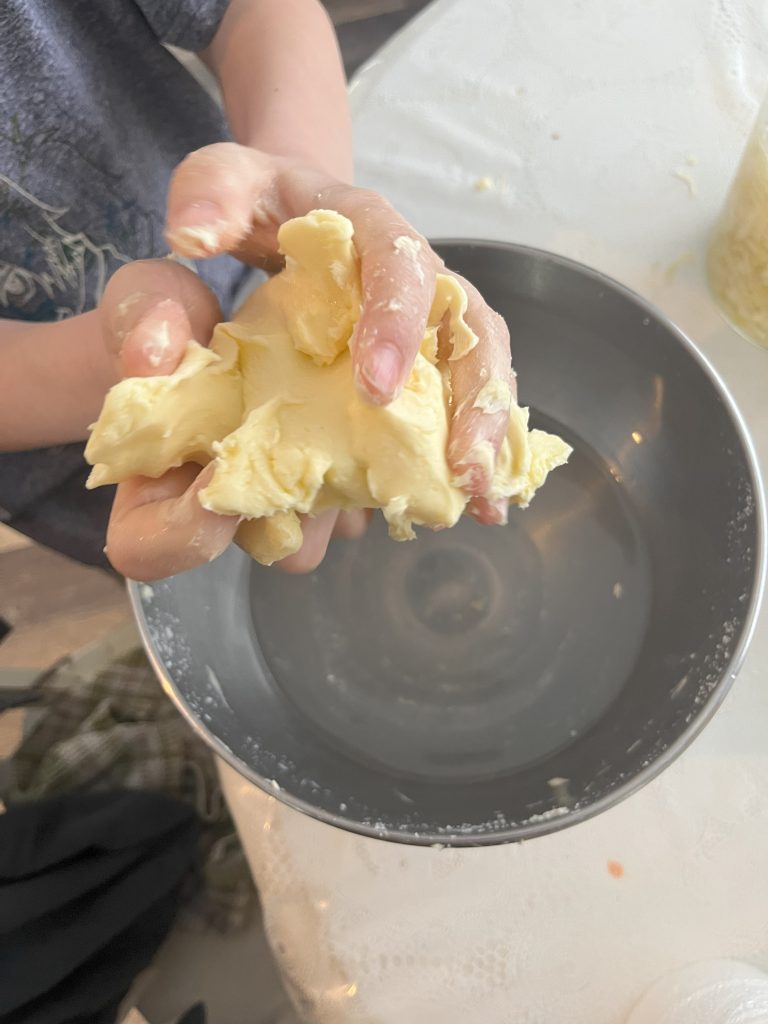
  • Pick your butter up and run cold water over it butter as you knead it into a ball
  • If you want to salt your churned butter, sprinkle some in now. If you want to add herbs and seasonings, click here for a few ideas.
  • Reserve the buttermilk to get the most out of your whipping cream!
  • Click here to see butter churning in action.
A child churning butter with a standard tabletop mixer

Why Churned Butter at Home is Better

  • You control the quality of the butter by using quality ingredients
  • You get access to the freshest product (especially when you make small batches regularly)
  • Education – your child learns more about traditional foods and how they are made
  • It’s easy and fun!
A child rinsing churned butter

Using Your Leftover Weigh

You’ve just made your first batch of home churned butter! Now you can turn your attention to that leftover weigh you set aside when it separated. Although the possibilities are endless, we love to use it in these buttermilk pancakes. For other ideas of what can be done with your leftover buttermilk, check out this list.

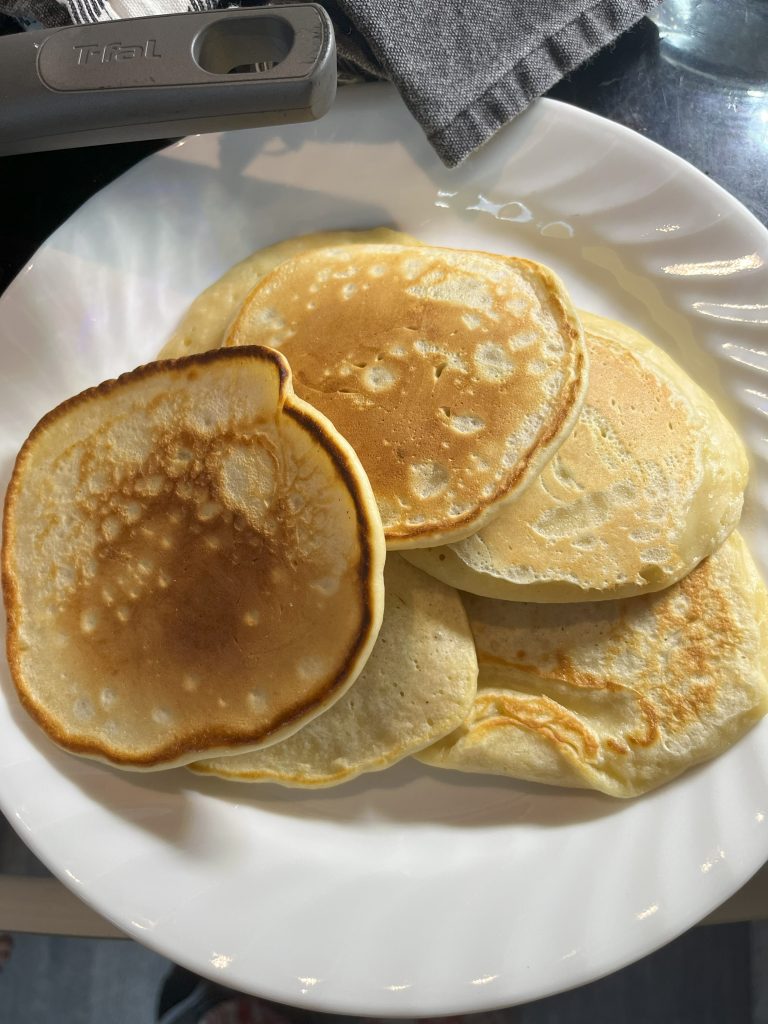
Buttermilk pancakes with fresh buttermilk

It’s Not Just Butter

Teaching children about traditional food practices is not just about imparting culinary skills; it’s about instilling a deeper connection to the environment and the sources of our sustenance. In today’s fast-paced world, where convenience often trumps authenticity, taking the time to churn butter with your children becomes more than just a kitchen activity – it becomes a lesson in heritage, sustainability, and self-reliance.

It’s Connection

By engaging in activities like butter churning, children gain a firsthand understanding of the effort and care that goes into producing food. They learn that food doesn’t magically appear on grocery store shelves; it has a journey, from farm to table. This awareness fosters appreciation and respect for the resources that nourish us, encouraging a more mindful approach to consumption.

It’s Cultural Preservation

Teaching children traditional food practices is a form of cultural preservation. In an era dominated by processed foods and fast food chains, these age-old techniques are at risk of being lost. By passing down these skills to the next generation, we ensure that our culinary heritage endures, keeping alive the flavors and traditions of our ancestors.

It’s Discovery

Beyond the kitchen, understanding the origins of food also sparks curiosity about the natural world. Children who begin with tasks like churning butter may develop an interest in agriculture, animal husbandry, or environmental stewardship. They may start asking questions about where their vegetables come from or how different animals contribute to the ecosystem, setting them on a path of discovery and exploration.

In essence, teaching children to churn butter is about more than just making a delicious spread; it’s about sowing the seeds of knowledge, curiosity, and appreciation. It’s about equipping them with the skills and insights they need to make informed choices about the food they eat and the world they inhabit. So, the next time you reach for that store-bought butter, consider taking a step back in time and inviting your children to join you in a journey of discovery through the simple act of churning.