Calendula Oil – Beauty and Benefits

Hello, my daring darlings! Today, we’re diving into the wonderful world of calendula oil, that golden elixir that holds a myriad of benefits for our skin, health, and garden. But first, let’s unravel the mystery behind the star of the show – the calendula flower.

What is a Calendula Flower?

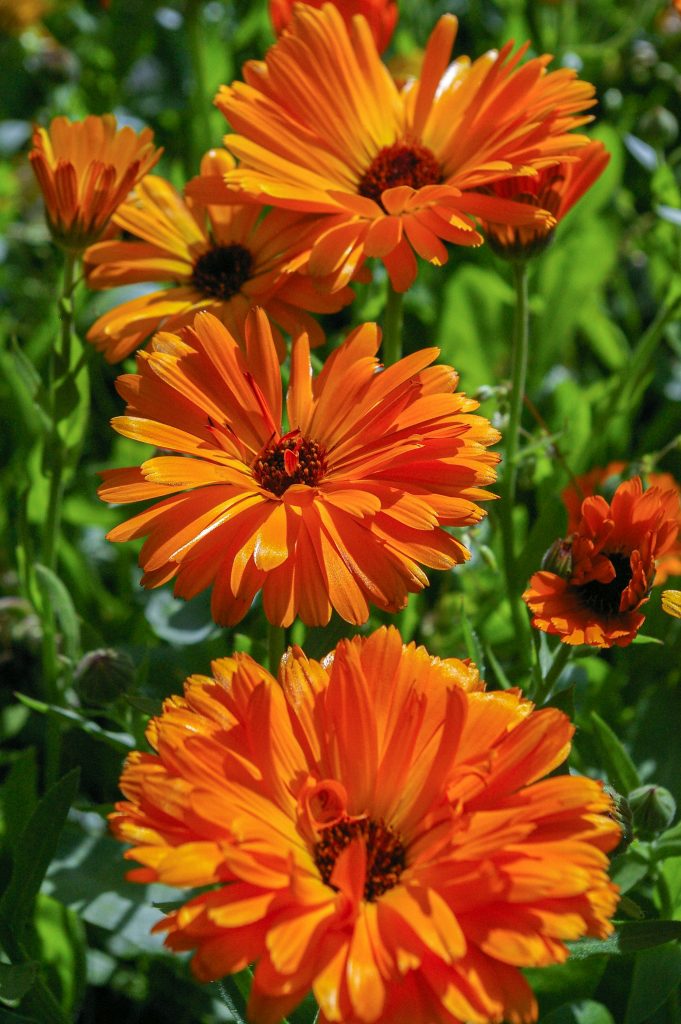
Calendula are the perfect representation of a sunny summer flower. Its vibrant hues ranging from sunny yellows to deep oranges, is a sight to behold! This daisy-like bloom, also known as pot marigold, is not just a feast for the eyes but a powerhouse of goodness. Its botanical name, Calendula Officinalis, hints at its esteemed medicinal properties. And, bonus? Deer and rabbits won’t eat them, but pollinators adore them!

Where does Calendula Flower Grow?

Calendula is a versatile little beauty, thriving in various climates and soil types. Originally native to the Mediterranean region, it has spread its roots worldwide, gracing gardens, meadows, and even city sidewalks with its cheerful presence.

Benefits of Calendula Flower

Now, let’s talk about the magic packed within those petals! Calendula isn’t just another pretty face in the garden; it’s a treasure trove of benefits. Calendula oil, extracted from its blossoms, is renowned for its anti-inflammatory, antifungal, and antibacterial properties. From soothing irritated skin to promoting wound healing, this oil is a skincare superhero that you can make from your own backyard.
How to Grow Calendula

Fancy growing your own calendula? It’s easy to grow even for the novice gardener. Simply sow the seeds in well-drained soil, provide ample sunlight, and watch them flourish. They’re perfect for borders, containers, or even as companions to your veggies, attracting beneficial insects while repelling pests. They are cold hardy and can be planted in early spring once the ground is workable. It takes a lot to knock out a calendula plant! If you plan to use this calendula oil on your skin, be mindful of any fertilizers, pesticides or herbicides you choose to use – if any.

Once your plants are in full bloom, you can remove some of the flowers for other applications periodically and you’ll never run out! The calendula plant just keeps on giving.

How to Process Calendula Oil

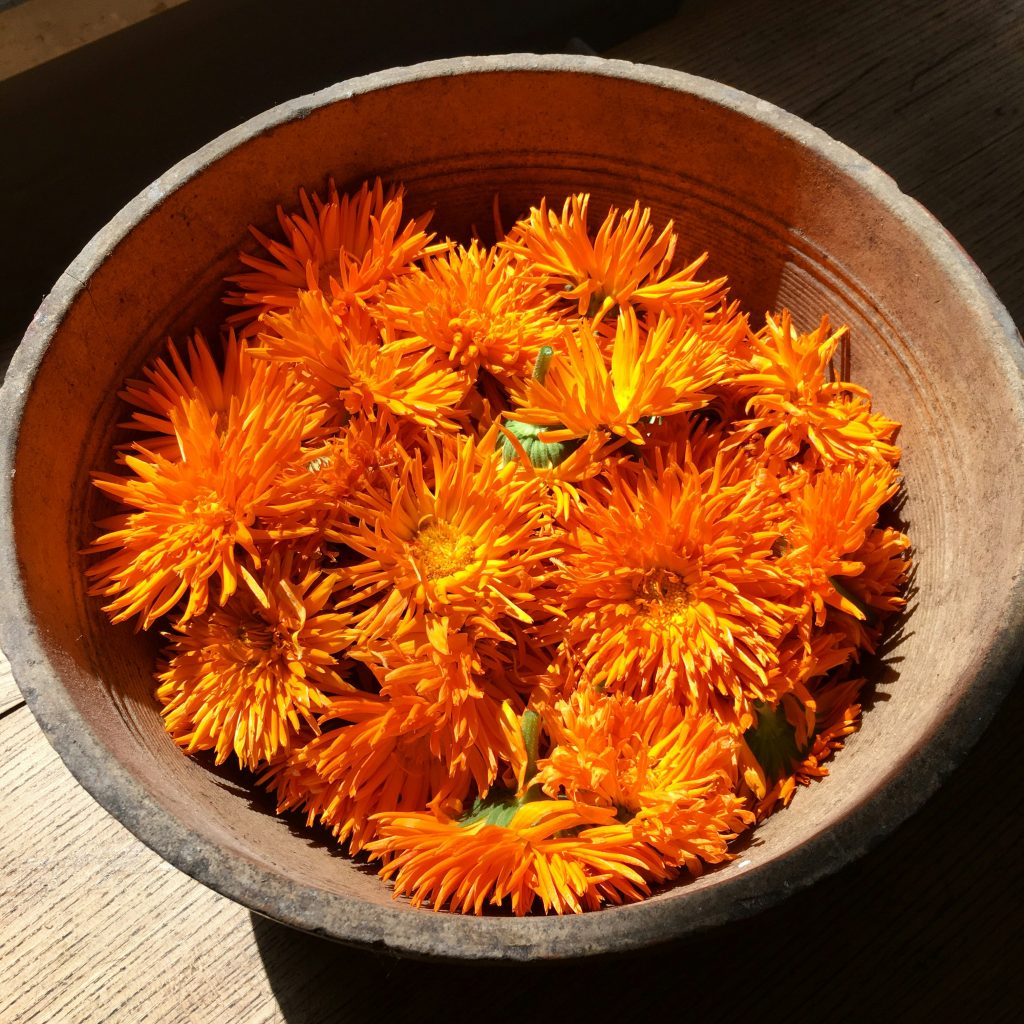
Now, the process of turning those sunny blooms into liquid gold! Harvest the flowers when they’re in full bloom, then dry them thoroughly to prevent mold. You can you a dehydrator for this purpose, or just allow the petals to air-dry. Make sure not to crowd them.

Snip or pop off the whole head and allow the petals to dry on them. |The petals aren’t necessary to remove, but the real magic is in the green of a calendula head. Next, infusing the dried petals in a carrier oil, like olive or coconut oil, will make the magic happen over time. To do this, pour your dried calendula heads into a vessel like a mason jar and pack slightly. Pour in your oil to cover the calendula by at least one inch and…voila! You’ve got yourself a bottle of precious calendula oil, ready to work wonders for your skin after just 4-6 weeks at room temperature! After that time, you may want to strain out the petals to make the oil easier to use.
Other Uses for Calendula

But wait, there’s more! Calendula isn’t just limited to skincare. This versatile herb can be brewed into teas, added to salads for a pop of color, or used in culinary creations for a hint of floral flavor. Its medicinal properties extend beyond skincare, with applications in soothing sore throats, alleviating menstrual cramps, and even aiding digestion. Check out this cool blog to see how to process your calendula oil into calendula salve!

Controlling Calendula’s Spread in the Garden

While calendula is a beloved addition to any garden, its prolific self-seeding nature can sometimes lead to overzealous spreading. Fear not, fellow gardeners, for there are ways to keep this enthusiastic bloomer in check. Deadhead spent flowers regularly to prevent excessive reseeding, or if you prefer a more hands-on approach, thin out seedlings as needed to maintain control.

In conclusion, dear readers, the humble calendula flower is a true gift from nature, offering beauty, health, and garden benefits in abundance. So why not embrace this golden marvel and let its sunny disposition brighten your days?

Until next time, happy gardening and glowing skin!

Lupin Seeds: Everything You Need to Know

Oh, friend, have you heard about the gorgeous marvels of lupin seeds? Let me spill the tea on everything you need to know about these magical little early spring wonders.

Lupin seeds are also affectionately known as bluebonnet seeds. Picture them in your mind’s eye: delicate blooms in shades of purple, blue, white, or yellow, swaying gently in the breeze like a scene from a dream. These beauties can dazzle your garden for up to three months, putting them among the reigning queens of the flower kingdom.

The First Year

Here’s a little secret: they’re a tad shy in their first year, opting for just foliage instead of flaunting their flowers. But, don’t despair, because once these flowers start to come in and then die back, you can encourage a second round of blooms by deadheading the old ones. That’s right – they’ll bloom a second time, just to show you what they’re really made of.

Toxic But We Love Her

Brace yourself for a plot twist: lupin seeds are toxic to humans and animals. But fear not, dear readers, for their allure lies not in their taste but in their ability to captivate pollinators! These little gems are like the ultimate wingman for your garden, attracting bees, butterflies, and other lovely creatures to dance among their petals. Just don’t let Fido eat ‘em.

In fact, a traditional Portuguese snack, called Lupini Beans, requires much soaking and boiling before their bitterness and toxic alkaloids can be made palatable and safe to eat. Learn more about it here.

Growing Lupin Seeds

Let’s get down to the nitty-gritty of nurturing these floral darlings. Lupin seeds have a preference for acidic soil and crave about six hours of sunlight daily. Oh, and they adore a good mulching session to keep their roots cozy and happy. Just be mindful that they’re a bit sensitive to extreme heat, so keep those watering cans handy during scorching temperatures. They develop a significant taproot, so they don’t transplant well.

And here’s a little tidbit for all you green-thumbed enthusiasts: lupin seeds are prolific seed producers. But alas, they’re not the self-seeding type, so you’ll need to roll up your sleeves and collect those seeds if you want to keep the lupin party going. You’ll likely find yourself composting or giving away most of them because who can keep up?

When it comes to planting, remember to give these lovelies some breathing room – about 12 inches between plants should do the trick. And if you’re short on garden space, fear not! Lupin seeds thrive in pots, bringing a touch of whimsy to even the tiniest balcony or patio.

Sprouting

Now, let’s talk about the art of sprouting lupin seeds. It’s as easy as snipping a tiny portion of the husk off and soaking them overnight. Think of it as their beauty sleep before they burst forth with life and color. And for those of you wondering how to perform such delicate surgery, fear not! A clean set of nail clippers will do the trick.

Oh, let’s not forget the most magical part of all: lupin seeds are among the first signs that spring has sprung! Imagine waking up to their delicate foliage, a promise of brighter, longer days and blooming gardens ahead. Even when not in full bloom, their foliage is a sight to behold, like a lush tropical vibe adorning your outdoor sanctuary.

In conclusion, dear readers, lupin seeds are not just another pretty face in the garden. They’re the silent heroes, the unsung stars, the enchanting blooms that herald the arrival of spring. So, whether you’re a seasoned gardener or a budding enthusiast, why not add a dash of lupin magic to your outdoor oasis? Trust me, your garden – and your soul – will thank you for it.

Thank You Card for Teachers- How and Why

In the tapestry of a child’s young experiences teachers have an important role. When your child is old enough to be sent off to school every day, these are the people who will care for your child. The younger the child, the more important that your child feel safe and comfortable in their presence. No child can learn in a body that’s nervous.

But the relationship between parents and teachers is more fragile than ever amid the introduction of ideology in school. Politics and ideology that should fall outside the scope of public school have been thrust onto every teacher’s lap whether they agree with it, or not. Fear of losing their positions puts them in a terrible position with parents. But like every good parent before you, sometimes you need to show appropriate gratitude toward others that you haven’t always had positive interactions with. This can also be the case when there are significant disruptive challenges at school for your child. In these cases, a thank you card for teachers is almost always a good idea.

Your child’s teacher might love the trinket gifts they get from their students at the end of the term, but a handwritten thank you card for teachers may impart further meaning (and it’s easy on the wallet).

Why Say Thank You?

Like you, many teachers are exhausted parents who go from one group of kids to another before their day is through. Acknowledging the countless hours they put into writing lesson plans, providing one-on-one attention and coaching intramurals is often overlooked, but it can mean an awful lot to a teacher who is putting in the effort. Teachers are teaching large numbers of students with an increasingly varied set of needs including spectrum disorders, ADHD and kids who are just having a bad day,

New teachers may be having a particularly trying time when faced with obstacles early in their teaching career. Knowing that they have the support and understanding of parents as they learn the ropes may offer them more confidence.

A thank you card for teachers supports the relationship between you and fosters effective communication about your child’s progress in their classroom. Maybe even more importantly, it models active gratitude to your children and how to recognize the positive contributions of others.

What to Include in a Thank You Card for Teachers:

Personalized Appreciation: Begin by addressing the teacher by name and express genuine appreciation for their specific contributions to your child’s education. Highlight instances where their guidance or support made a significant difference.

Specific Examples: Share anecdotes or specific instances that illustrate how the teacher’s efforts positively impacted your child’s learning experience. Whether it’s fostering a love for a particular subject, providing extra assistance, or nurturing confidence, specificity adds depth to your gratitude.

Recognition of Impact: Reflect on the broader influence of the teacher beyond academics. Acknowledge their role in shaping your child’s character, instilling values, or fostering a sense of belonging within the classroom community.

Future Support: Conclude the note by expressing willingness to support the teacher’s efforts and maintain open communication. Let them know you value their partnership in your child’s education journey.

Sample Thank You Note:

Expressing gratitude through a thank you card to teachers is a powerful gesture that not only acknowledges their dedication but also strengthens the bond between home and school the same way the parent teacher interview does. By conveying heartfelt appreciation and recognizing the profound impact of their efforts, parents can contribute to a culture of positivity and support within their child’s educational experience. As we navigate the complexities of education, let’s not forget the pivotal role teachers play in shaping our children’s thoughts and feelings.

Everbearing Strawberries: Maximizing Your Harvest

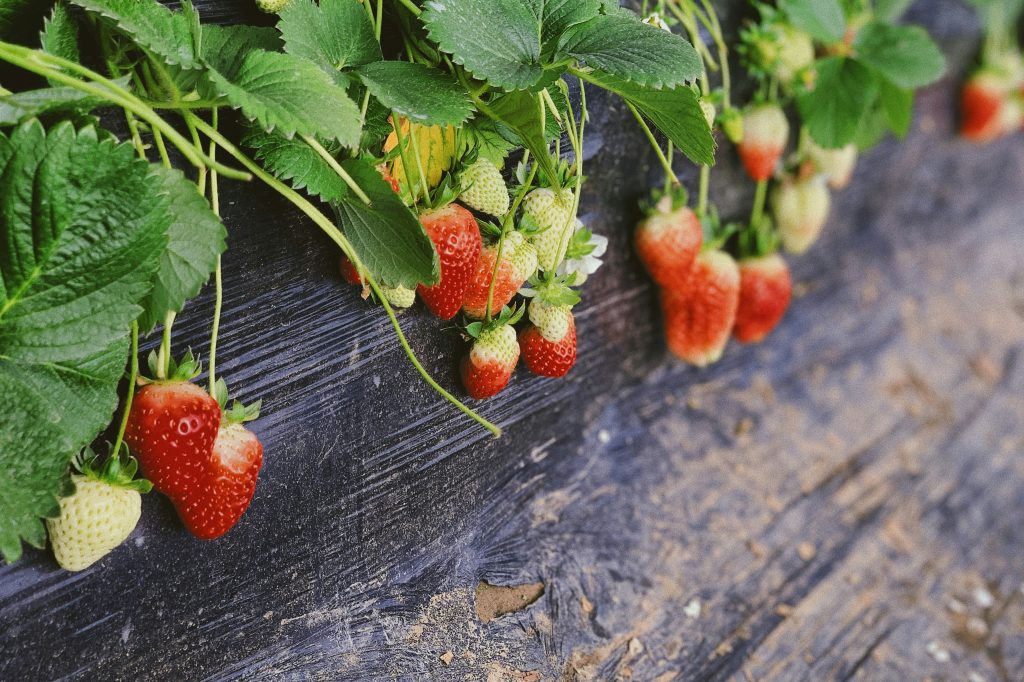
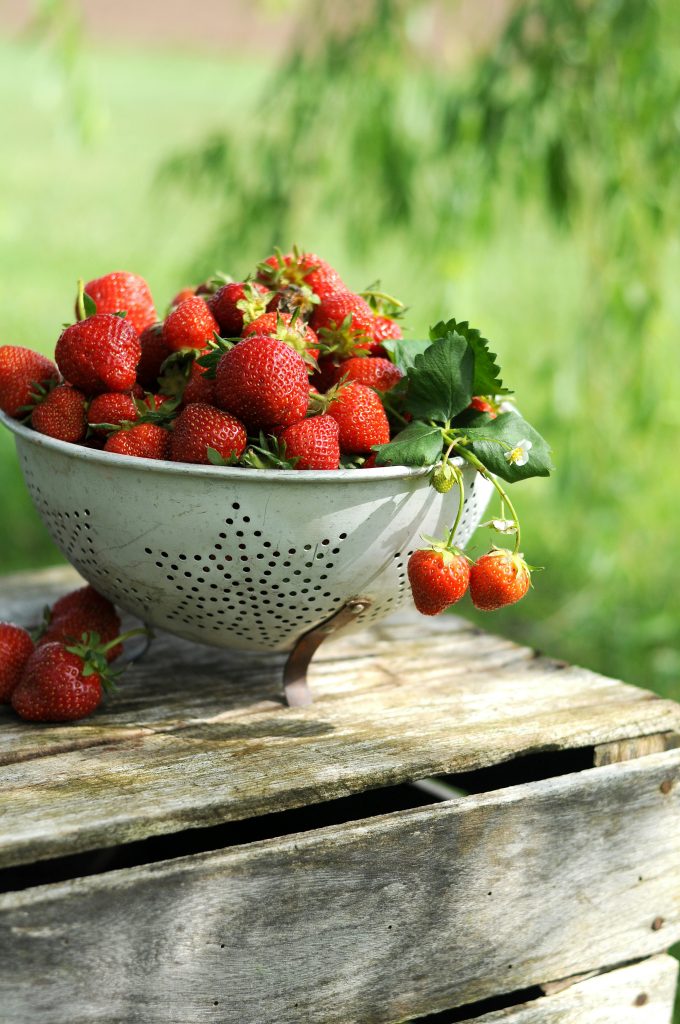
Strawberries, with their vibrant color and sweet flavor, are a beloved addition to gardens worldwide. Among the various types of strawberries, everbearing strawberries stand out for their unique ability to produce fruit throughout the growing season. Cultivating these delightful berries requires just a little maintenance and some basic information. In this article, we will explore the essential steps to ensure a bountiful harvest of everbearing strawberries, from planting to harvest time. All by someone who’s had to learn from scratch.

Planting in Early Spring

To kickstart a successful strawberry patch, you’ll want to plant your strawberries in early spring. Once the ground is thawed and workable with moderate temperatures, it is ready to receive your new plants. If it’s early enough in spring, even your plant starts may look deader than dead. But, fear not, your plants will take!

In fact, growing strawberries isn’t commonly a problem – the problem is getting fruit the first year. That’s because in its first year, a strawberry plant will focus on establishing its root system rather than growing fruit. Typically, fruit comes in the second season – but we can trick nature by planting bare-root strawberry plants. These plants come ready with their root structures intact and is usually successful in fruiting in the first year.

Choose a location that receives full sun for optimal growth and fruit production. If temperatures get unseasonably hot, providing shade will ensure that your plants don’t get singed, but your plants will love everyday sun. Ensure proper spacing between plants, allowing 15-20 inches of distance between each strawberry plant (they will fill in, promise!). When planting, bury the roots only up to the crown level to prevent rot and encourage healthy growth.

Understanding Strawberry Varieties

There are three main types of strawberries: everbearing, day-neutral, and June-bearing. Everbearing strawberries, as their name suggests, produce fruit continuously throughout the growing season, providing multiple harvests. Day-neutral strawberries also produce fruit consistently, regardless of day length. In contrast, June-bearing strawberries yield a single crop in June and require specific daylight conditions for fruiting. Understanding the unique characteristics of each variety enables you to plan your garden accordingly and maximize your harvest potential.

The first strawberries I grew were a June-bearing variety that were the sweetest smelling and most delicious white berries my family had ever eaten! With such a short fruiting period though, we were left wanting more after fighting every animal in the sky and on land for them over a two-week period. It was enough for my family to get a taste for having strawberries around – so we tore up that bed and replaced the eight-foot, by four-foot bed with everbearing strawberries. A no-brainer for the strawberry-obsessed!

Choosing the Right Fertilizer

Maintaining the correct soil pH is essential for the health and productivity of everbearing strawberries – so opt for a pH-neutral fertilizer (your local garden center will know just what you need). Regular fertilization throughout the growing season will support bumper crops of delicious berries all season long.

Light Requirements

Everbearing and June-bearing strawberries rely on daylight conditions to initiate fruiting. Ensure that these varieties receive at least 12 hours of daylight daily to promote flowering and fruit set. Pay attention to potential frost events, especially during the critical fruiting period for June-bearing strawberries. Early frosts can damage the plants and significantly reduce your strawberry harvest. Protective measures such as row covers, or frost blankets can help safeguard your crop during periods of inclement weather.

Maintaining Productive Beds

Although everbearing strawberries are prolific producers, they require regular maintenance to ensure long-term productivity. Strawberry beds typically last around four years before the plants begin to decline in vigor and fruit quality. To prolong the lifespan of your strawberry patch, periodically remove runners that emerge from the plants. This practice directs the plant’s energy toward fruit production rather than vegetative growth, resulting in larger and sweeter berries.

Protecting Against Pests

Birds are notorious strawberry enthusiasts and can quickly decimate a ripe berry patch. Prevent avian visitors from feasting on your harvest by installing bird netting over your strawberry plants. Secure the netting tightly to prevent gaps where birds could enter and enjoy the fruits of your labor. Additionally, monitor your strawberry patch for signs of other pests, such as slugs or aphids, and take appropriate measures to control infestations and minimize damage.

Keep strawberries off the ground for the best quality fruit. Offer a bed of hay or mulch to help retain water in the soil and keep fruit dry.

Your Turn!

Growing everbearing strawberries can be a rewarding experience for gardeners of all skill levels. By following these essential tips, you can maximize your strawberry harvest and enjoy a continuous supply of delicious berries throughout the growing season.

Looking for strawberry recipes? Click here for 43 Fabulous Strawberry Recipes!

Your Guide to Baking Beets Whole

So, you find yourself staring at a bunch of beets, wondering what on earth to do with them. Fear not, dear reader, for I am here to guide you through the wardrobe-staining experience of baking beets whole – a culinary adventure.

Selecting and Cleaning the Beets

First things first, let’s pick the perfect beets. You want them to be firm, smooth, and as perky as THOT. Look for ones with their greens still intact, a sign of freshness and vitality. Anything looking sad and droopy should be left on the shelf – we want beets that don’t look beaten. Isn’t that the kind of irony we expect from the world?  Trim off those leafy greens, leaving just a little bit of stem to keep the beets from getting too bleedy during their time in the oven.

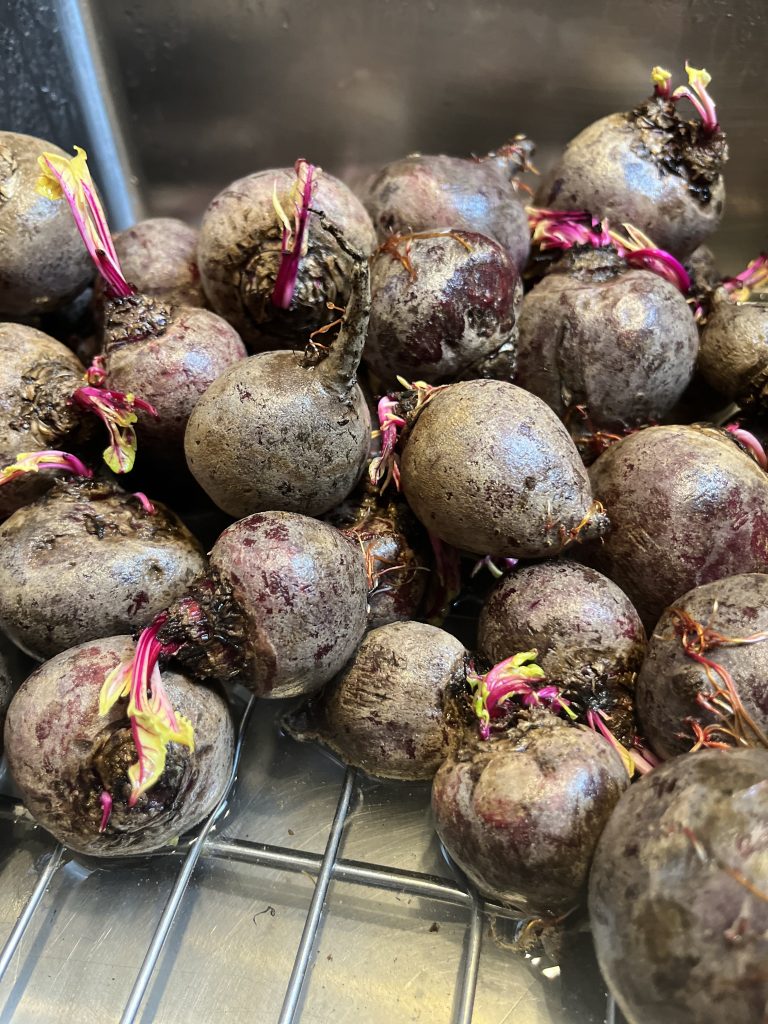
Or, have you purchased a greenless 20lb bag of beets so small that peeling them seems like the kind of punishment outlawed in some countries? But they’re yours now, Sista!

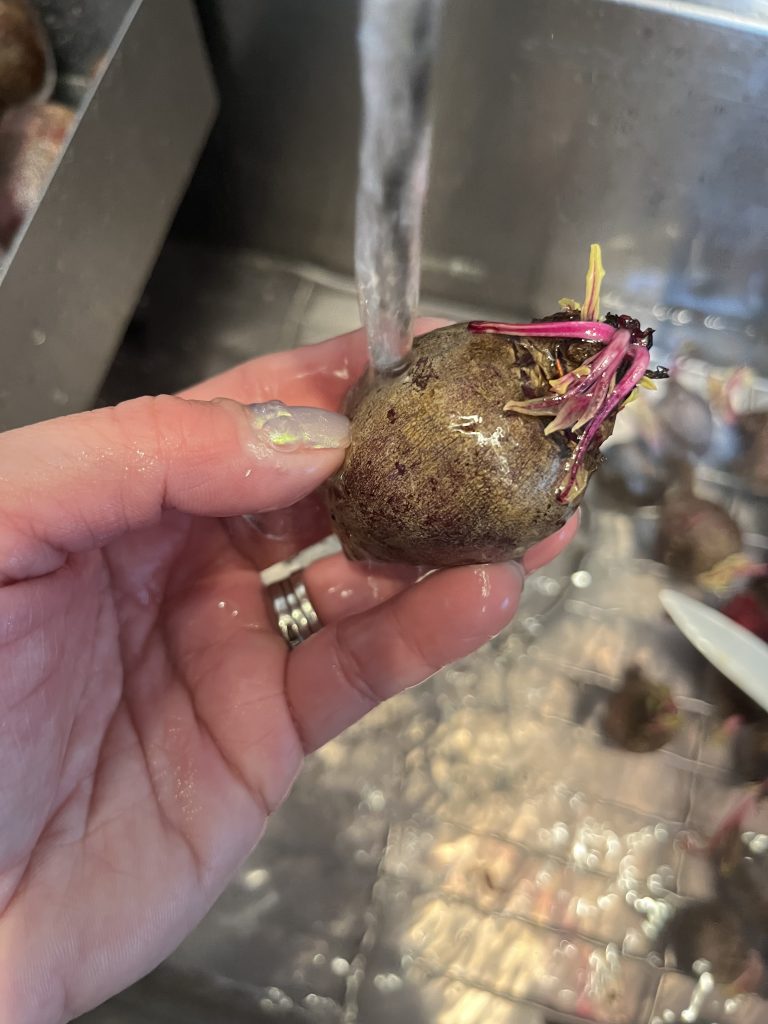
Once you’ve found your beets, it’s time to give them a good rinse and scrub under cold water. Count, if you can, how many times you disassociate throughout this monotonous task and repeatedly return to find yourself still scrubbing the damned things. (They’re not looking like such a show-stopping deal anymore, are they?)

I digress.

But here’s the thing: the torture ends here. Because you’re going to bake your beets whole, you can skip the agony of peeling! Take this tiny win and throw your beets into a baking dish deep enough to catch potential drips.

Baking Beets Whole

Now, let’s get roasting! Preheat your oven to 375°F (190°C).

If you’ve got a few big, beautiful beets, you might consider wrapping each one in foil like a potato to seal in the moisture as it cooks. If your beets are small, you’ll want to wrap your baking dish in foil to seal all the beets at once. If you want to add a little flavour early in the process, you can dress them with a little olive oil, salt and pepper before wrapping them up. Adding 1 cup of water to the sealed baking dish will help steam the peels and make them easier to remove later.

Bake your beets whole on the middle rack for 45 minutes to an hour and increase time as needed. You’ll know your beets are done when you can slide a knife into them easily. Remove them from the oven and remove the aluminum foil to cool.

Peeling Your Whole Baked Beets

The following should be done with an apron and latex gloves if you’re clumsy and slightly careless, like yours truly. Otherwise, you could emerge from the kitchen looking like you just brutalized someone – but pinker.

Once you can comfortably touch your beets, you can start sliding their skins off with ease. It’s faster and easier than peeling them raw – and you get to keep all your knuckles!

Your beets are now cooked and ready to be used in a soup, salad or pickling brine. And while you could eat your baked beets whole, we recommend slicing them to your preference, depending on the application.

Dressing the Baked Beets Whole

Your beets can be dressed in so many delicious ways! Our favorite is:

  • Olive oil (good quality if you can)
  • Salt
  • Pepper
  • Balsamic vinegar
  • Spring lettuce mix
  • Fresh chopped parsley, dill, basil and chives
  • Crumbed feta or soft goat cheese

These are ingredients that can be eyeballed and adjusted to taste. Need more beet salad recommendations? Check out this awesome beet salad dressing blog by the Happy Muncher.

Was it worth it?

Of all the root vegetables in the garden, beets have to be my favorite (with carrots trailing them closely). They are so many varieties to grow and ways to prepare them – and I haven’t yet tried one I didn’t like. There is something so comforting about their sweetness and their beauty that I could easily eat them every day. And I’ll probably have to, because I bought too many beets.

Got too many beets? Learn how to store them here.