Amaretti Cookies

A Sweet Journey Through Time

Amaretti cookies, small almond-flavored delights, are a beloved treat with deep roots in Italian culinary tradition. Their history stretches back centuries, originating in the regions of Lombardy and Veneto, where they were often enjoyed during festive occasions and celebrations. The name “amaretti” derives from the Italian word “amaro,” meaning “bitter,” a nod to the slight bitterness of the almonds used in their preparation. Despite this hint of bitterness, the cookies are a harmonious blend of sweet and nutty flavors, making them a favorite among cookie enthusiasts worldwide.

Rising Popularity and Global Appeal

What makes amaretti cookies so special is not just their unique flavor but also their texture. Traditional amaretti can range from soft and chewy to crisp and crunchy, catering to different palates. This versatility has contributed to their widespread popularity. In Italy, they are often served with coffee or dessert wine, providing a perfect balance to the meal’s conclusion. Over time, these cookies have transcended borders, finding their way into bakeries, homes, and even dark kitchens around the globe. Their simplicity in ingredients and preparation has made them accessible to bakers of all skill levels, further cementing their place in the pantheon of beloved cookies.

The Perfect Amaretti: A Step-by-Step Guide

Creating amaretti cookies at home is a rewarding experience that fills your kitchen with a delightful almond aroma. Here’s a detailed recipe to guide you through the process:

Ingredients:

– 2 1/2 cups fine almond flour

– 3/4 cup + 1/4 cup granulated sugar

– 1/2 tsp fine salt

– 3 egg whites

– 1 tsp almond extract

– 1/4 cup powdered sugar
Directions:

1. Preheat your oven to 325 degrees Fahrenheit. Prepare a sheet pan with parchment paper or a silicone liner.

2. Combine the dry ingredients: In a bowl, mix together the almond flour, 3/4 cup of granulated sugar, and salt. Set this mixture aside.

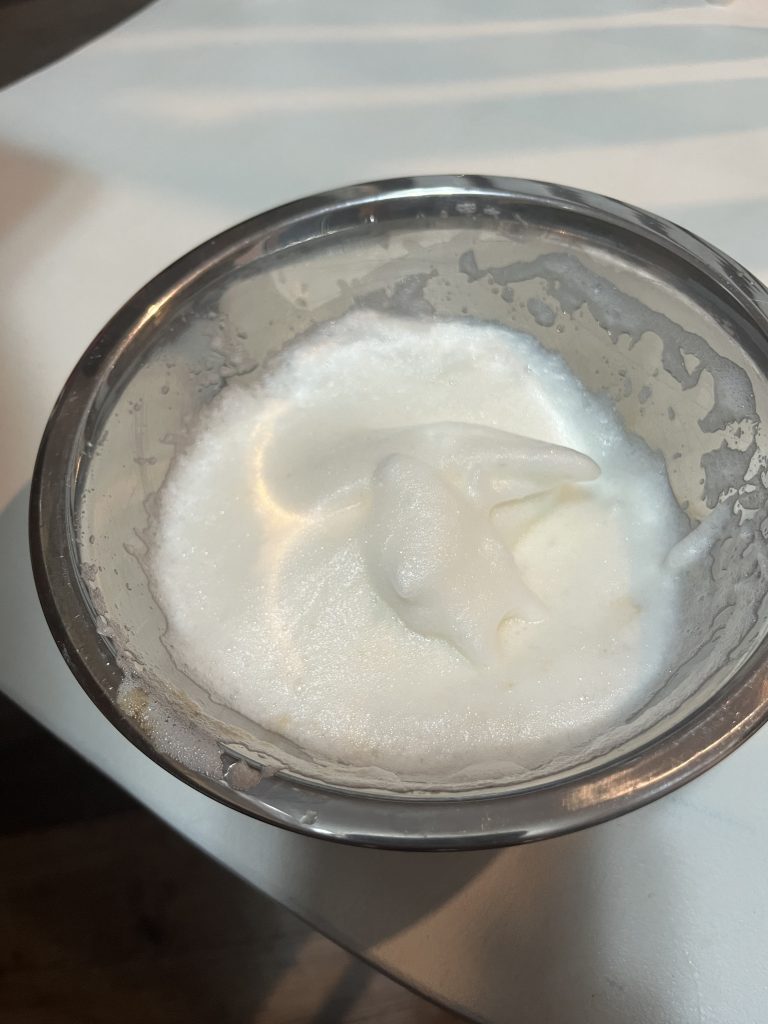
3. Whip the egg whites: In a separate bowl, beat the egg whites and almond extract until soft peaks form, which should take about 1-2 minutes.

4. Incorporate the dry ingredients: Gently fold the almond flour mixture into the beaten egg whites, adding the dry ingredients slowly to avoid overmixing.

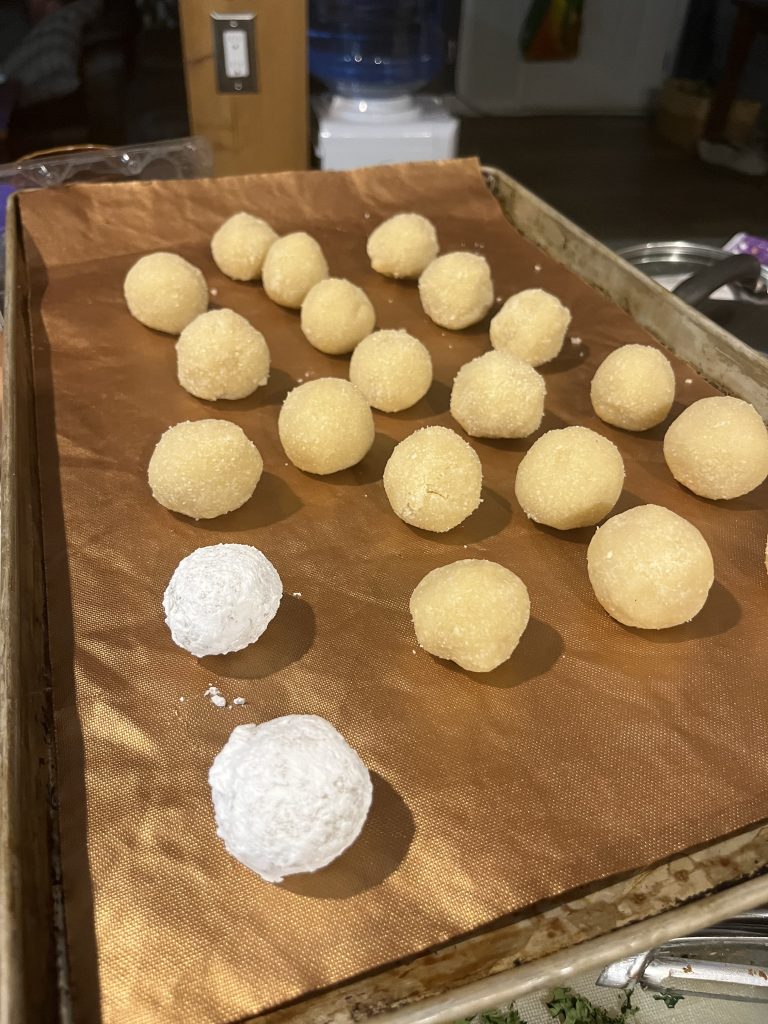
5. Form the cookie dough: Using 3 tablespoons of the mixture at a time, roll the dough into balls.

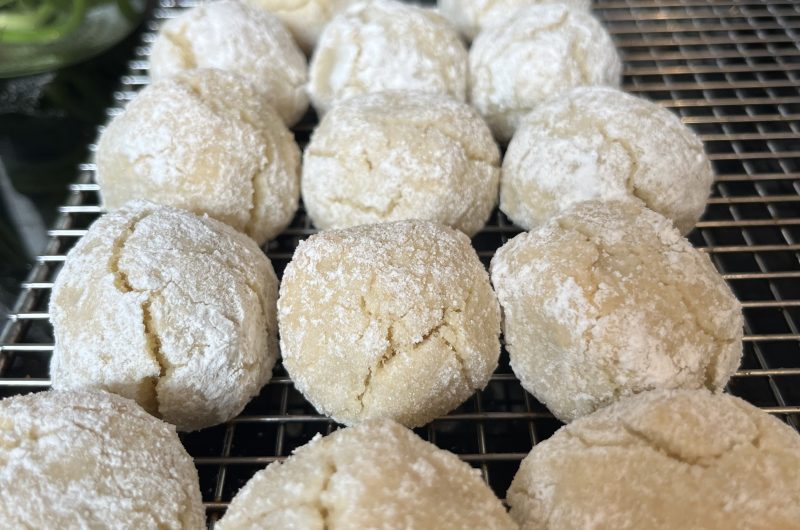
6. Sugar coating: Put the remaining granulated sugar and powdered sugar into separate small dishes. Roll each ball first in granulated sugar and then in powdered sugar before placing them on the prepared baking sheet. If powdered sugar is not adhering, fluff it with a fork.

7. Bake the cookies: Bake in the preheated oven for 20-22 minutes until the cookies are lightly golden. Let them cool on a wire rack before serving.
Enjoying Amaretti Cookies

Amaretti cookies are incredibly versatile in how they can be enjoyed. They make an excellent companion to a cup of espresso, where their sweetness perfectly balances the coffee’s bitterness. For a more decadent treat, try pairing them with dessert wines such as Vin Santo or Moscato d’Asti. These cookies can also be crumbled over ice cream or used as a base for a sophisticated tiramisu.

Variations to Explore

One of the joys of amaretti cookies is their adaptability. Here are a few variations to experiment with:

  1. Chocolate-Dipped Amaretti: After baking and cooling, dip half of each cookie into melted dark chocolate. Let the chocolate set before serving.
  2. Lemon Amaretti: Add the zest of one lemon to the dry ingredients for a citrusy twist. You can also drizzle a lemon glaze over the cooled cookies.
  3. Coconut Amaretti: Substitute half of the almond flour with finely shredded coconut for a tropical flavor or try this recipe. This version is especially delightful during the summer months.
  4. Amaretti with Liqueur: Add a tablespoon of Amaretto liqueur to the egg white mixture for an extra depth of almond flavor. Alternatively, try adding a splash of your favorite liqueur, such as Frangelico or Grand Marnier, for a unique twist.
  5. 5. Gluten-Free Amaretti: Since the recipe already uses almond flour, these cookies are naturally gluten-free. However, ensure that all ingredients used, including baking powders or flavorings, are certified gluten-free if needed.

A Treat for All Seasons

Whether you’re enjoying these cookies during a festive holiday season, as a daily treat, or as a thoughtful gift, amaretti cookies are a timeless delicacy that never fails to impress. Their rich history and enduring popularity are a testament to their delightful flavor and versatile nature. By following the simple recipe outlined above, you can bring a piece of Italian tradition into your home, sharing the joy and satisfaction that comes with each bite of these delectable cookies.

 Final Thoughts

Amaretti cookies are more than just a sweet treat; they are a symbol of culinary heritage and a bridge connecting past and present through flavor and tradition. Their preparation, though simple, is an act of love and craftsmanship that results in a cookie rich in history and taste. Whether you are an experienced baker or a novice in the kitchen, the journey of making and enjoying amaretti cookies is one that promises to be rewarding and delicious. So, gather your ingredients, preheat your oven, and embark on this delightful baking adventure. Buon appetito!

Amaretti Cookies

Recipe by adminCuisine: ItalianDifficulty: Easy
Servings

24

servings
Prep time

20

minutes
Cooking time

22

minutes

Ingredients

  • 2 1/2 cups fine almond flour

  • 3/4 cup + 1/4 cup granulated sugar

  • 1/2 tsp fine salt

  • 3 egg whites

  • 1 tsp almond extract

  • 1/4 cup powdered sugar

Directions

  • Preheat oven to 325 degrees Fahrenheit
  • Prep a sheet pan with parchment paper or silicone liner
  • Combine almond flour, 3/4 cup sugar and salt. Set aside.
  • Beat egg whites and almond extract to soft peaks (1-2 mins)
  • Fold dry ingredients into the egg whites, adding them slowly. Do not overmix.
  • Form balls by rolling 3 tbsp of the mixture at a time
  • Put remaining white sugar and powdered sugar into small dishes for rolling
  • Roll the balls in granulated sugar and then transfer to icing sugar before placing on the prepared pan
  • Bake 20-22 mins.

Rhubarb Loaf

Rhubarb is one of those ingredients that can transform a simple loaf into a culinary delight. With its unique tartness and vibrant color, rhubarb is a versatile ingredient that can be used in a variety of baked goods. Today, I’m excited to share a wonderful recipe for a rhubarb loaf that not only tastes amazing but also showcases the perfect balance of sweetness and tanginess. This recipe makes two loaves, so you can enjoy one now and freeze the other for later, or share it with friends and family.

Ingredients:

Before we dive into the method, let’s take a look at the ingredients you’ll need:

– 1 cup buttermilk

– 2 tsp vanilla extract

– 1 1/2 cups brown sugar

– 2/3 cup coconut oil, melted

– 1 large egg

– 2 1/2 cups all-purpose flour

– 1 tsp salt

– 1 tsp baking soda

– 2 cups chopped rhubarb

– 1/2 tsp cinnamon

The Magic of Rhubarb and Coconut Oil

Rhubarb might seem like an unusual choice for a loaf, but its natural tartness pairs beautifully with the sweetness of brown sugar and the richness of coconut oil. Coconut oil not only adds a subtle tropical flavor but also keeps the loaf moist and tender. Combined with the buttermilk, which adds a slight tang and extra moisture, this loaf is incredibly flavorful and has a perfect texture.

Step-by-Step Recipe

1. Preheat Your Oven

Start by preheating your oven to 325°F (175°C). Grease and flour two 9×5 inch loaf pans or line them with parchment paper for easy removal.

2. Prepare the Wet Ingredients

In a large mixing bowl, whisk together the brown sugar, melted coconut oil, and the egg. Make sure the coconut oil is melted but not hot, as you don’t want to cook the egg when you combine them. The buttermilk helps in creating a tender crumb and balances the flavors perfectly.

3. Combine the Dry Ingredients

In a separate bowl, sift together the all-purpose flour, salt, baking soda, and cinnamon. Sifting helps to remove any lumps and ensures that the dry ingredients are well combined.

4. Mix the Batter

Gradually add the dry ingredients to the wet mixture, stirring until just combined. Be careful not to overmix, as this can lead to a dense loaf. The batter will be thick, but that’s exactly how it should be.

5. Add the Rhubarb

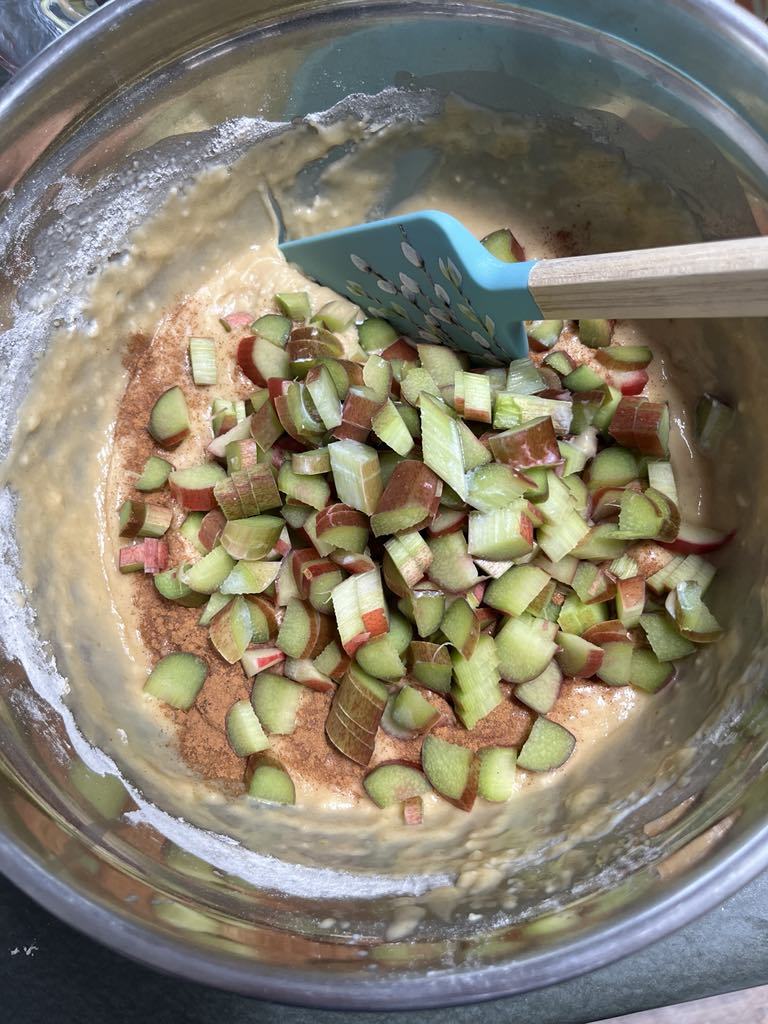
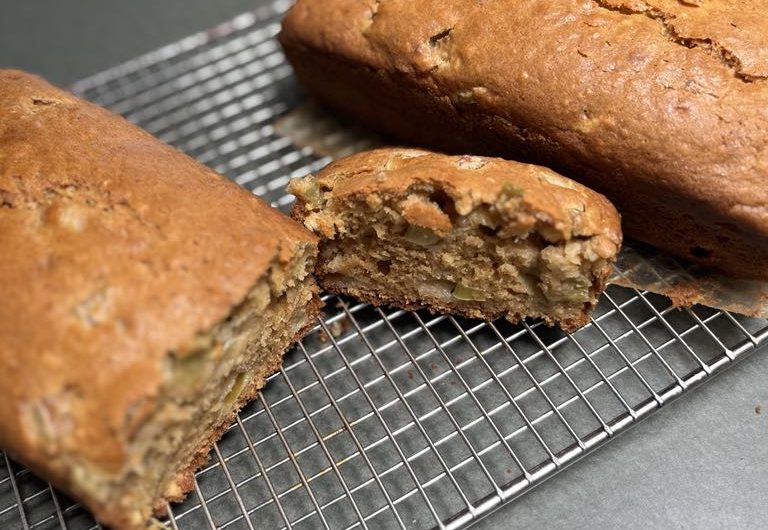
Gently fold in the chopped rhubarb. Ensure the rhubarb is evenly distributed throughout the batter. The rhubarb pieces will soften as they bake, adding pockets of juicy tartness to each slice.

6. Bake the Loaves

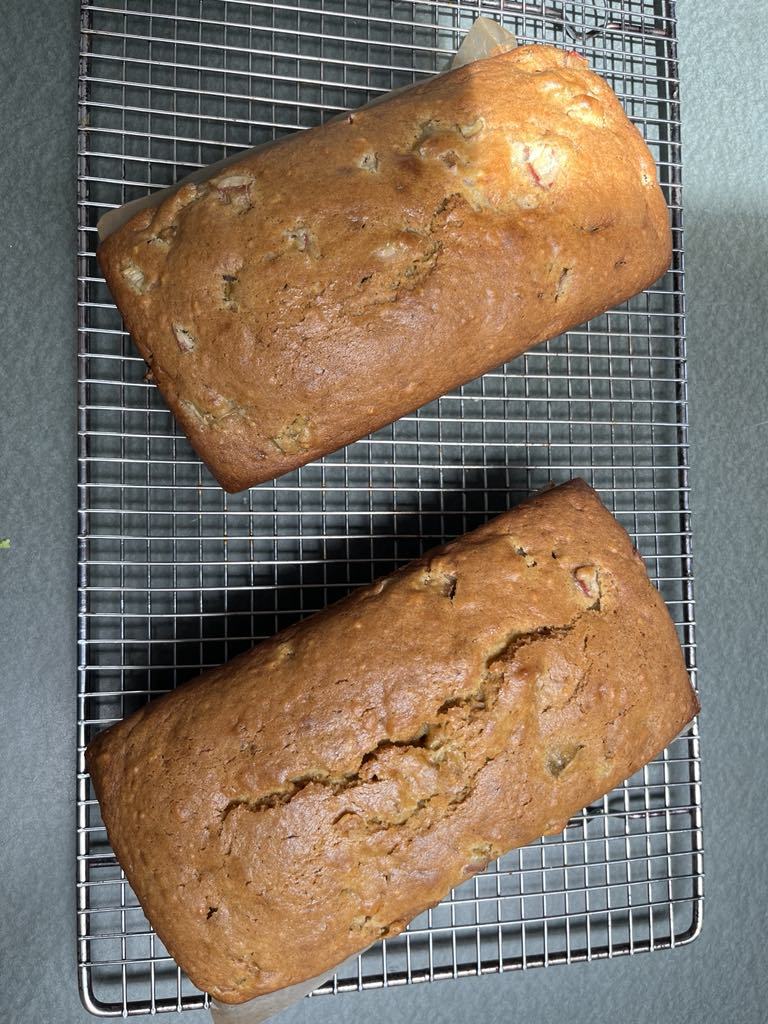
Divide the batter evenly between the two prepared loaf pans. Smooth the tops with a spatula and place the pans in the preheated oven. Bake for about 50-60 minutes, or until a toothpick inserted into the center of the loaves comes out clean.

7. Cool and Enjoy

Once baked, remove the loaves from the oven and let them cool in the pans for about 10 minutes. Then, transfer them to a wire rack to cool completely. This ensures that the loaves firm up and are easier to slice.

Serving Suggestions

These rhubarb loaves are incredibly versatile. Here are a few serving suggestions to make the most of them:

– Breakfast: Serve a slice with a pat of butter and a hot cup of coffee or tea.

– Snack: Enjoy it as a mid-afternoon treat with a dollop of whipped cream or Greek yogurt.

– Dessert: Pair it with a scoop of vanilla ice cream or a drizzle of caramel sauce for a decadent dessert.

Storage Tips

One of the best things about this recipe is that it makes two loaves, which means you can enjoy one now and save the other for later. Here are some storage tips:

– Room Temperature: The loaves can be stored at room temperature in an airtight container for up to 3 days.

– Refrigerator: If you prefer, you can refrigerate the loaves for up to a week. Just make sure they are well wrapped to prevent them from drying out.

– Freezer: These loaves freeze beautifully. Wrap them tightly in plastic wrap and then in aluminum foil. They can be frozen for up to 3 months. When you’re ready to enjoy, let them thaw at room temperature.

Customization Ideas

This recipe is quite flexible and can be customized to suit your preferences. Here are a few ideas:

– Nuts: Add a handful of chopped nuts, such as walnuts or pecans, for some extra crunch.

– Spices: Increase the amount of cinnamon or add other spices like nutmeg or ginger for a spicier loaf.

– Fruit: Mix in other fruits like strawberries or apples to complement the rhubarb.

Conclusion

This rhubarb loaf recipe is a delightful way to showcase the unique flavor of rhubarb. With its perfect balance of tart and sweet, combined with the richness of coconut oil and the subtle tang of buttermilk, this loaf is sure to become a favorite in your household. Whether you’re enjoying it for breakfast, as a snack, or a dessert, each slice is a treat that celebrates the simple pleasures of home baking.

So why not give this recipe a try? Gather your ingredients, preheat your oven, and get ready to bake up two loaves of pure deliciousness. You won’t be disappointed!

Rhubarb Loaf

Recipe by adminCourse: Parenting
Servings

8

servings
Prep time

10

minutes
Cooking time

1

hour 
Calories

300

kcal


This rhubarb loaf recipe yields two delightful loaves, perfect for sharing or enjoying over several days. Made with fresh rhubarb and enriched with coconut oil, this recipe combines the tartness of rhubarb with the natural sweetness of coconut, balanced by sugar and other essential ingredients. The loaves are moist and tender, with a subtle coconut flavor that complements the tangy rhubarb chunks. Ideal for breakfast, dessert, or a snack, these loaves are a delicious way to celebrate the rhubarb season.

Ingredients

  • 1 cup buttermilk

  • 2 tsp vanilla extract

  • 1 1/2 cups brown sugar

  • 2/3 cup coconut oil melted

  • 1 large egg

  • 2 1/2 cups all-purpose flour

  • 1 tsp salt

  • 1 tsp baking soda

  • 2 cups chopped rhubarb

  • 1/2 tsp cinnamon

Directions

  • Preheat oven to 325 degrees F
  • Mix brown sugar, coconut oil, buttermilk and egg in a bowl
  • In a separate bowl, mix flour, salt, and baking powder
  • Gradually add wet ingredients to dry ingredients
  • Fold in Rhubarb
  • Pour into two prepared loaf pans
  • Bake for one hour at 325 degrees, or until a toothpick inserted into the center comes out clean.
  • Enjoy!

Notes

  • Cut rhubarb lengthwise before chopping to ensure pieces aren’t too big.

Portuguese Rice Pudding – How to Make Your Own

portuguese sweet rice being eaten in a dish

In Portuguese kitchens, there’s a beloved dessert that whispers of comfort and nostalgia with every creamy spoonful: arroz doce, or Portuguese rice pudding. It’s the kind of treat that transports you to simpler times, where every bite was a comfort. Now, I’m looking to pass down this cherished recipe to my own children, hoping to instill in them the same love for this traditional Portuguese delight that I inherited from my grandmother.

Childhood Memories

In my grandmother’s cozy kitchen, Portuguese rice pudding always arrived in a humble foil dish from the local bakery, nestled alongside a bounty of freshly baked Portuguese buns. Oh, she made her own too, but our local bakery was no compromise when Avo’s counters were already full of homemade delights. Now, with eager anticipation, I’m preparing to introduce my kids to this culinary gem, promising them a taste of tradition and a slice of family history.

Portuguese Rice Pudding – How to Make Your Own

Course: DessertDifficulty: Easy
Servings

8

servings
Prep time

5

minutes
Cooking time

30

minutes
Resting Time

2 hrs

A sweet and simple dessert paired perfectly with espresso.

Ingredients

  • 1 cup arborio rice

  • 1 cup milk (2% or higher)

  • 3/4 cup cream (or use all milk)

  • 3 egg yolks

  • 1/2 cup white sugar

  • 1/3 cup brown sugar

  • 1-2 large pieces of lemon zest

  • 1-2 cinnamon sticks

  • 2 tsp vanilla (or half a vanilla bean)

  • 2 tbsp coconut oil (butter is traditional)

Directions

  • Put lemon peel, cinnamon sticks, rice and coconut oil into your rice pot.
  • Cook the rice according to package directions until it’s almost done.
  • While the rice cooks, heat milk and cream separately until almost boiling.
  • Pour the hot milk mixture over rice, and stir gently to combine.
  • Add raisins to the rice
  • Add vanilla and continue to cook while stirring for five minutes
  • Remove pot from heat
  • Remove zest and cinnamon sticks from rice
  • Add sugar and stir well to combine
  • Whisk yolks and temper them by adding a spoonful of hot rice to them while stirring
  • Stir in a spoonful at a time and repeat twice
  • Once yolks are tempered, return the mixture to the rice and stir well to incorporate.
  • Pour your rice pudding into a vessel of your choice and cool completely
  • Cover generously with cinnamon and enjoy!

How to Make Portuguese Rice Pudding

Begin by using a vegetable peeler to peel one or two large pieces of lemon zest. Place your lemon peel, cinnamon sticks, rice and coconut oil into your rice pot, then start cooking your arborio rice according to package directions until it’s almost done.

While the rice works its magic, gently heat the milk and cream in a separate pot until it simmers.

Once your rice is nearly cooked, pour the hot milk mixture over it and stir gently to combine. If you’re opting for raisins, now’s the time to toss them into the mix.

Let this delightful concoction simmer for about 5 minutes, stirring frequently to prevent any sneaky rice sticking to the pot. Add vanilla while you stir.

Bid farewell to the lemon zest and cinnamon sticks – their work here is done. Then, sprinkle in both white and brown sugars, stirring until they dissolve into sweet, creamy harmony.

Take the pot off the heat and let it cool down just a smidge. In a separate bowl, whisk together the egg yolks, then slowly add spoonfuls of the warm rice mixture, stirring continuously to avoid any unwanted scrambled eggs.

Once the eggs have melded seamlessly into the rice, pour the entire mixture into a serving dish of your choice – I find a trusty casserole dish does the trick splendidly.

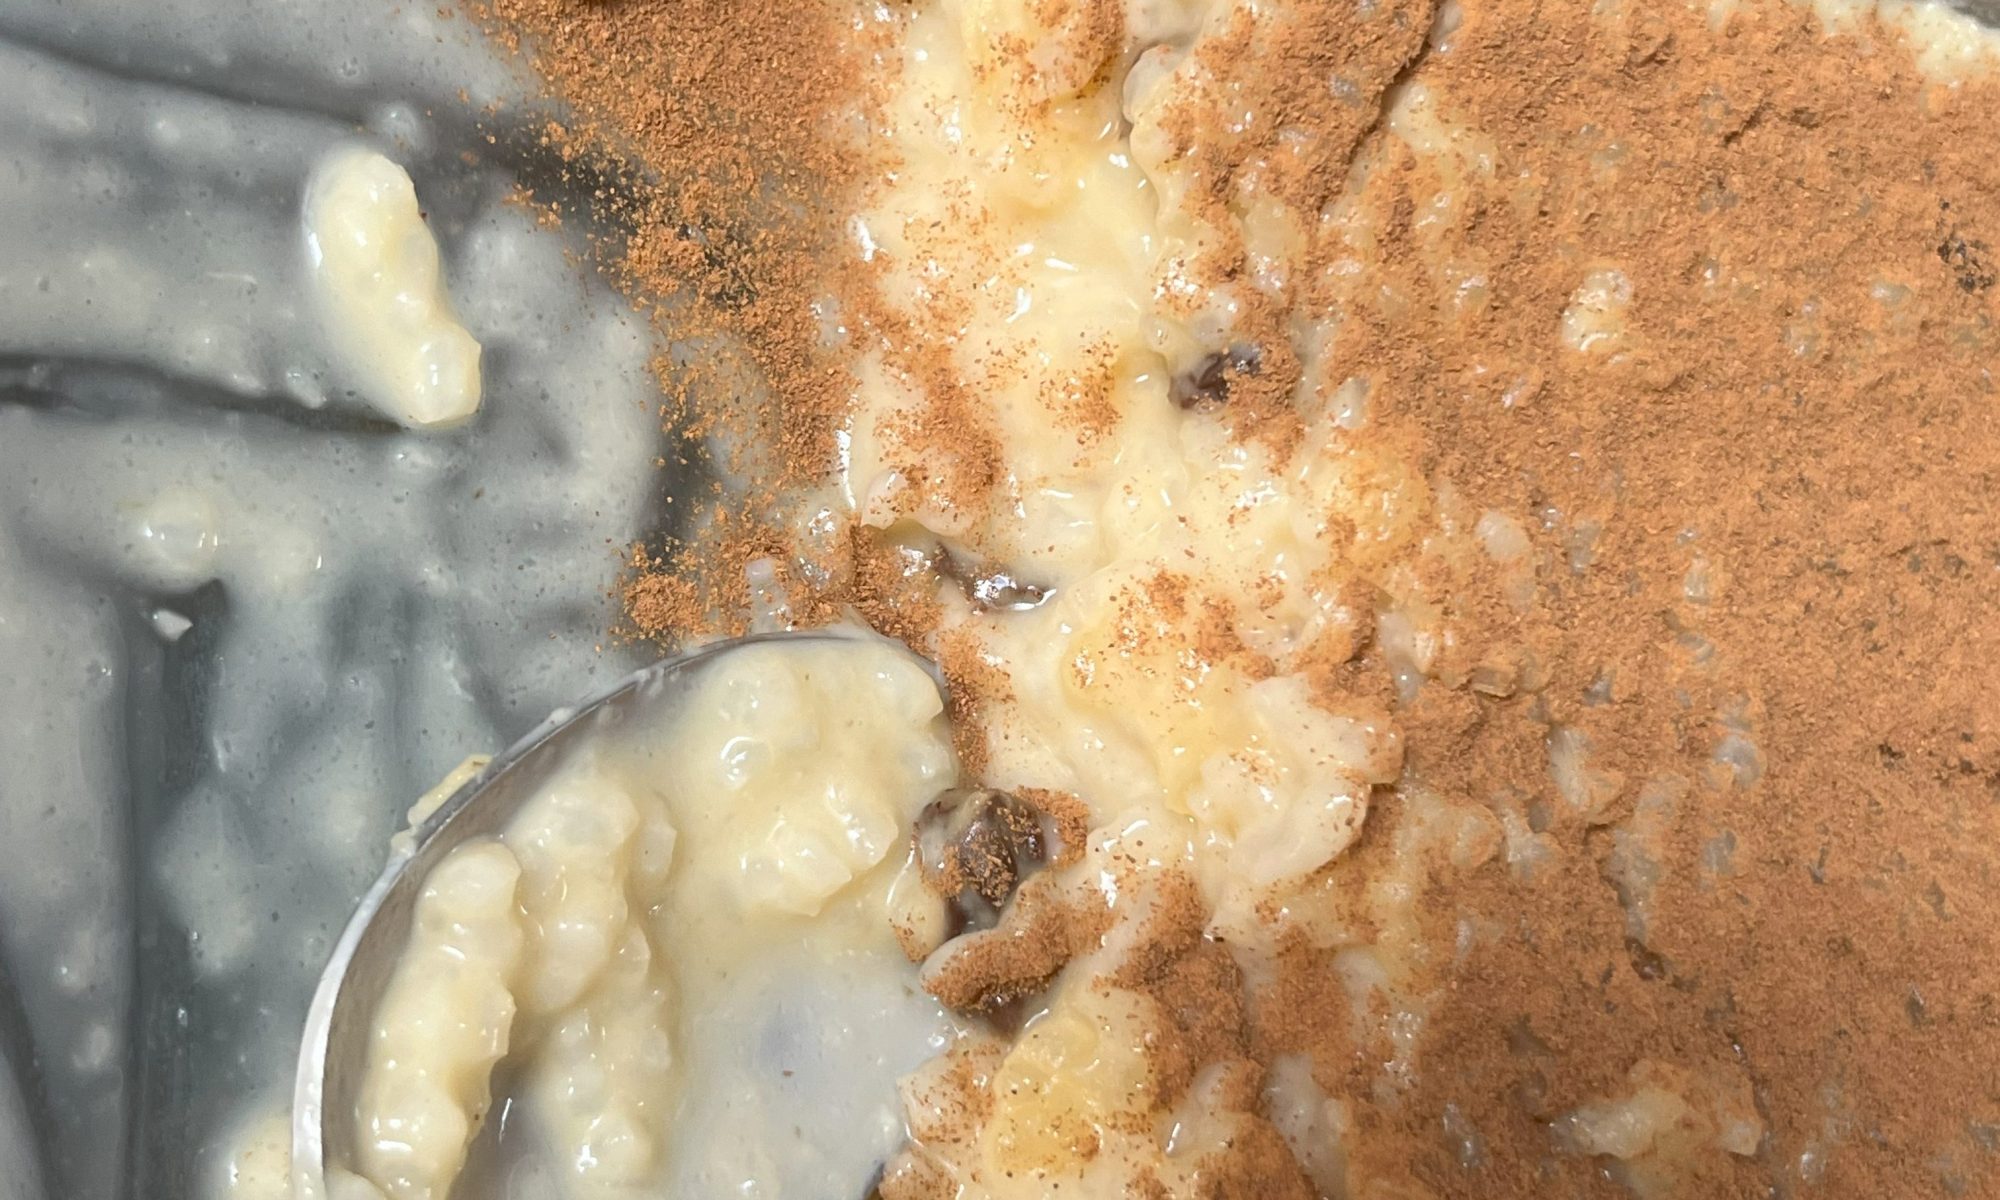
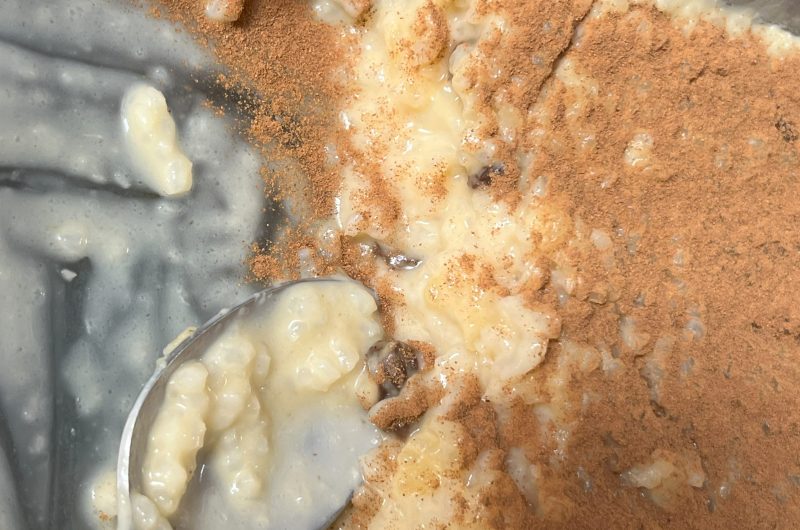
Pop your creation into the fridge and let it cool completely. Once chilled, dust the top with a generous sprinkling of cinnamon – it’s the finishing touch that elevates this humble dessert to heavenly heights.

Thinking Back to Different Times

So, my dear readers, I invite you to join me on this heartwarming journey into the soul of Portuguese cuisine. Bom apetite!

“As the aroma of cinnamon and lemon zest fills the kitchen, I am reminded of the times I stood by my grandmother’s side, eagerly awaiting the moment when she would unveil her signature Portuguese rice pudding. It wasn’t just a dessert; it was a vessel carrying generations of memories, love, and tradition.

Growing up, my grandmother’s kitchen was a sanctuary, a place where time seemed to slow down and worries melted away with each spoonful of her comforting creations. The sight of that humble foil dish, brimming with creamy goodness, was enough to spark joy in the hearts of our entire family.

Now, as I stand in my own kitchen, armed with her cherished recipe and a heart full of nostalgia, I can’t help but feel a sense of responsibility. I am not just making dessert; I am preserving a piece of my heritage, passing down a piece of my identity to the next generation.

The process begins with the simple act of peeling a lemon, a task that transports me back to lazy afternoons spent in my grandmother’s sunlit kitchen. Each strip of zest carries with it a story, a memory, a connection to the past.

As the rice simmers on the stove, I am filled with anticipation, knowing that soon my children will experience the same joy that I once did. The smell of coconut oil mingling with cinnamon fills the air, creating a sensory symphony that awakens the soul.

Meanwhile, the milk and cream gently bubble on the stove, infusing the air with warmth and comfort. It’s a familiar sight, one that I have witnessed countless times, yet it never fails to bring a smile to my face.

As the rice nears perfection, I pour the creamy mixture over it, watching as it swirls together in a dance of flavors and textures. The addition of plump raisins adds a burst of sweetness, elevating the dish to new heights.

As the pudding simmers gently on the stove, I take a moment to reflect on the significance of this recipe. It’s more than just a dessert; it’s a symbol of love, of family, of the ties that bind us together across generations.

Finally, as the pudding cools in the fridge, I can’t help but feel a sense of pride. I have honored my grandmother’s legacy, preserved a piece of my culture, and created a new tradition to pass down to my own children.